Hello, gamers, and welcome back to RivalSector.com. Elias here, and I’ve been spending the last week grinding deep inside Fellowship’s early access, and I have to say, the new Champion League capstone dungeon, the Wraithtide Vault, is a beast. It’s a fantastic test of your group’s coordination, interrupt game, and awareness. I’ve seen a lot of groups wipe on mechanics that are simple once you understand them, so I’m here to give you the full, no-nonsense breakdown.
I’ve been running this place nonstop, and I’ve hammered out the strategies you need to clear this dungeon smoothly. This guide is your key to conquering the vault, taming its bosses, and walking away with that sweet, sweet loot.
One quick disclaimer: all my experience and the information here is based on the Fellowship Open Beta. The devs have noted that things are, of course, subject to change before the full early access launch. Mechanics could be tuned, or numbers could be tweaked. But the core of these fights should remain the same. So grab your party, and let’s dive in.
Getting Started: Your Path and Party Prep
When you first zone into the Wraithtide Vault, you get a choice: head right towards the coast and First Mate Marrow, or left into the wilds to find Deathless Katrine. Here’s my pro-tip: just head right. The dungeon is one big loop, meaning you will have to kill all three bosses eventually. Going right towards Marrow first just feels like a more natural progression of difficulty, getting you warmed up before the tougher encounters.
Your standard party comp of one tank, one healer, and three DPS will work perfectly. What’s not standard is the amount of interrupts you will need. I recommend your group makes a clear interrupt rotation, because almost every trash pack and boss in here has at least one cast that must be stopped.
Taming the Trash: The Pirate Crew
The right path throws you straight into packs of pirate-themed mobs. Do not underestimate them, they can end a run faster than a bad pull. Here is your priority list for what to look out for.
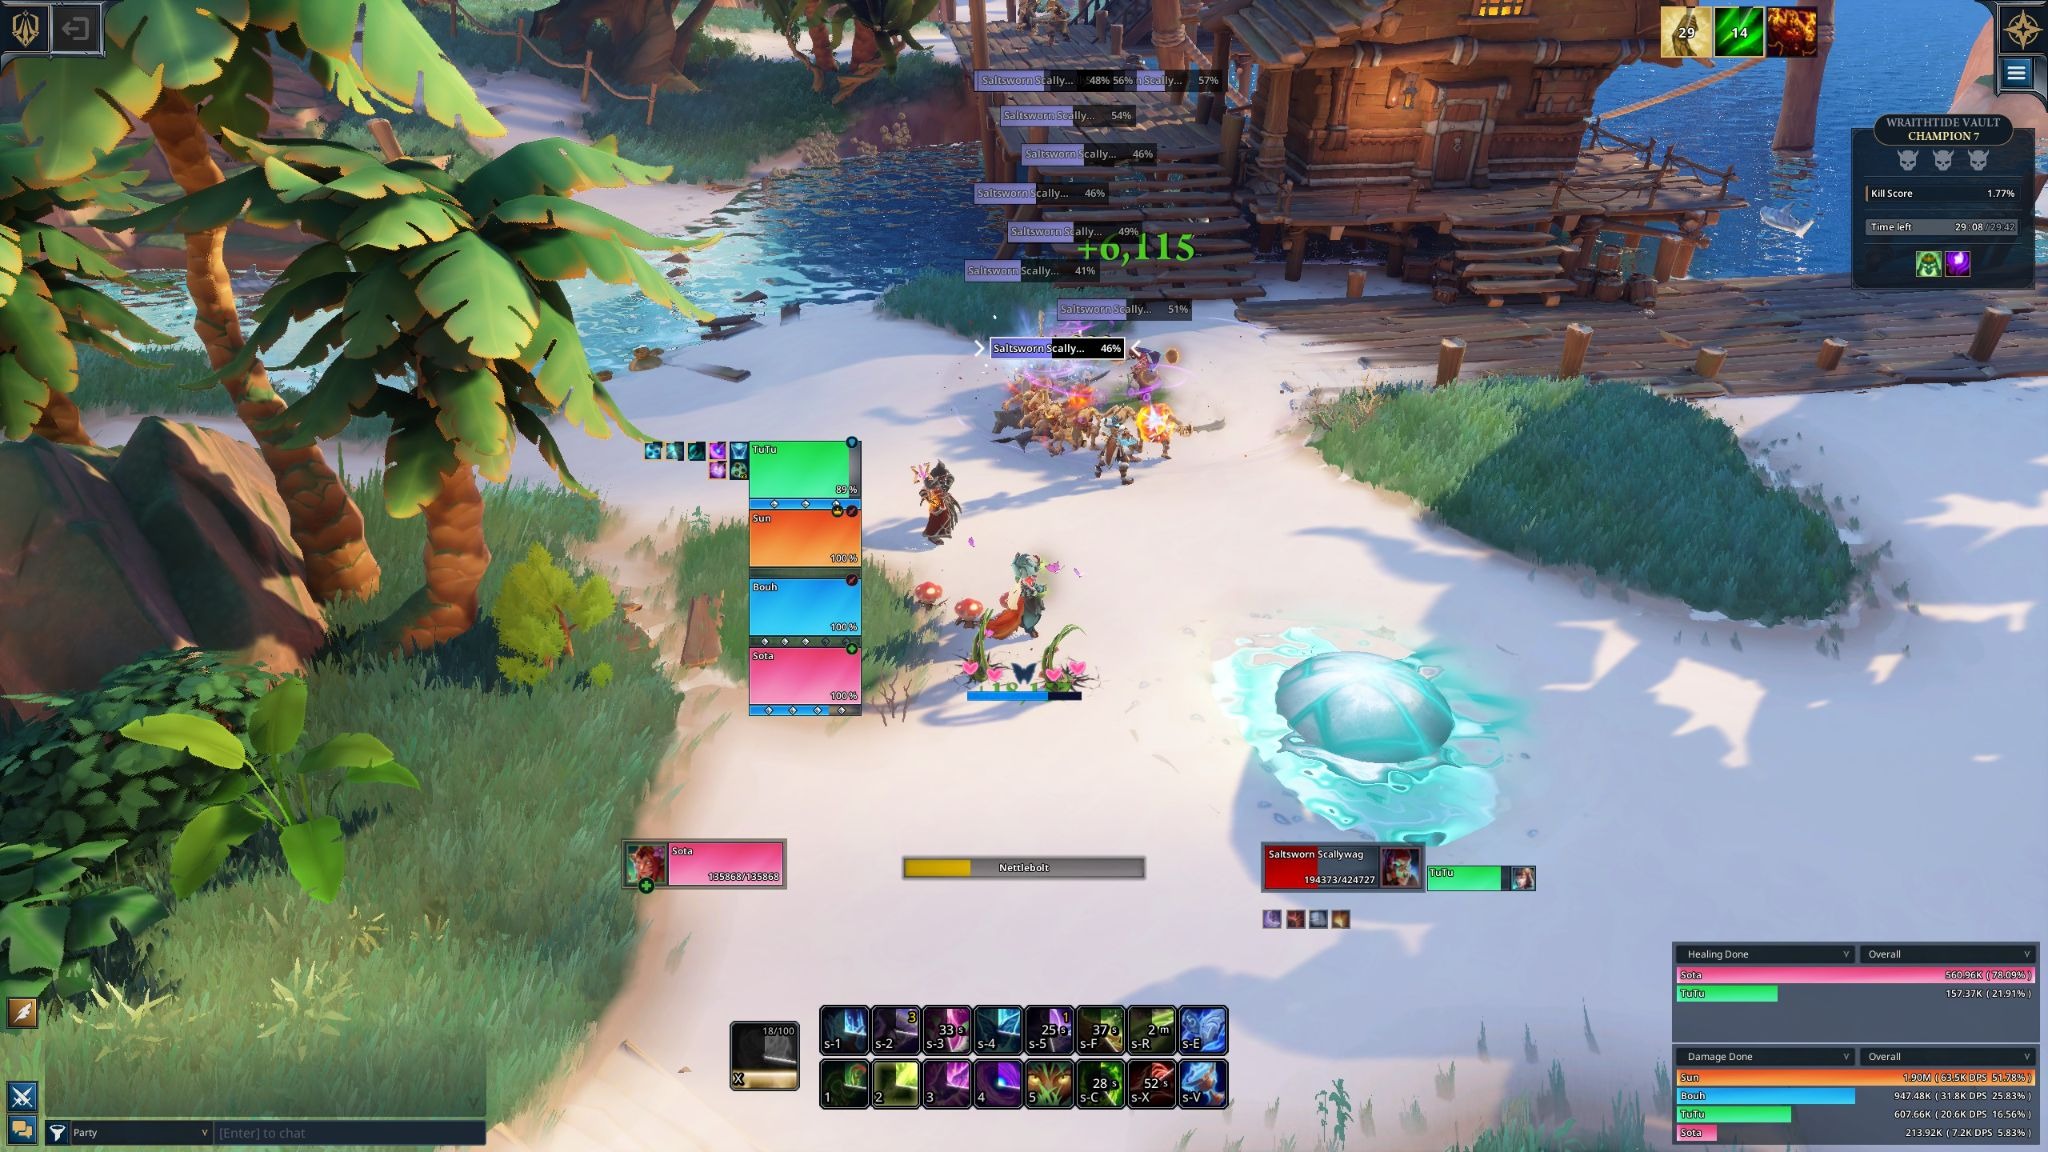
- Saltsworn Scallywags: These are your basic melee mobs, but they have a nasty trick called Salted Blade. They will leap at a random ranged player and apply a stacking bleed. The easiest way I’ve found to handle this is to have your entire group, ranged DPS and healer included, stack loosely in melee range. If there are no targets at range, they simply will not cast it.
- Tide Witches: These are your number one interrupt priority. They shoot a Sunken Gale tornado in a line at a random player, which you can sidestep. More importantly, they spam Dreadwater Bolt at the tank. Use your main interrupt or a crowd-control (CC) to stop Sunken Gale, and use any spare interrupts on the bolt.
- Soul Powder Buccaneers: This is your other number one interrupt priority. They cast Soul Powder Shot on a random player, which explodes in an AoE after a short delay. You must interrupt this. A single missed one can chunk your party.
- Bleach Bone Brutes: These big guys are a tank-and-spank, with a catch. Their melee swings splash to anyone within 4 yards. This means your tank must face them away from the group, and melee DPS needs to stand clear. They also have a frontal cone, Rupture Earth, that the tank should avoid.
- Bilge Rats: These annoying rodents channel Vermin Tide, spawning a swarm of smaller gunpowder rats that charge players and explode. Interrupt this channel immediately. If any rats do spawn, DPS should swap and nuke them, or simply avoid them.
- Greed Spawn Sentinels: These mobs channel Greed’s Embrace, which is a nightmare. It puts a stacking damage-over-time (DoT) and haste buff on all nearby enemies (and allies) while making the Sentinel itself take 80% reduced damage. Do not try to get clever and use the buff. Just interrupt this cast the second you see it.
Finally, be aware of the Shark-Infested Waters. You will see shortcuts or paths submerged in water. Do not take them. Stepping in the water can cause a shark to latch onto a player, dealing heavy damage until it’s killed. If someone does get a shark, the entire group must swap to it and kill it fast.
Boss 1: First Mate Marrow – The Cleave King
Marrow is the first major test of your group. The tank has the hardest job here, as this fight is all about positioning.
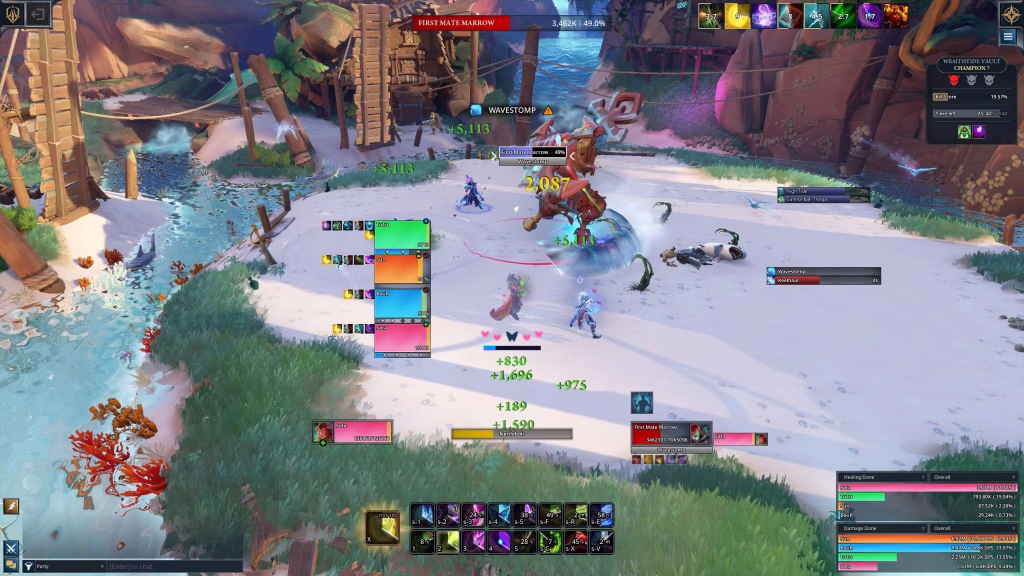
First, Marrow shares the Heavy Swings of the Bleach Bone Brutes. This is a 4-yard cleave. The tank must grab him, turn him away from the party, and hold him there for the entire fight. No one else should ever be in front of this boss. He also uses Wave Stomp, a large frontal aimed at the tank. The tank just needs to step out of this.
The real fight starts when Marrow casts Cannonball Troops. This spawns two Saltsworn Scallywags and one Tide Witch. The tank’s challenge is picking these up while also staying away from the party to avoid cleaving them. My advice: DPS must drag the adds to the tank. The tank should stay put, and the DPS should bring the mobs into range. Keep your interrupt rotation rolling on that Tide Witch.
Every time he summons adds, the boss gets a stack of Reinforced, which makes his next Cannonball Troops cast spawn one additional Scallywag. This is a soft enrage. The longer this fight goes, the more chaotic it gets. You need to burn him.
The other major mechanic is Canon Mirage. This creates two large soak circles. If a circle is not soaked, the entire party gets hit with a magic debuff. The solution is simple: assign two players (ideally DPS or even the tank) to hop into these. The soakers will get a magic DoT and a healing reduction. The healer needs to be ready to immediately dispel one of them, and focus-heal the other until the dispel is off cooldown.
Finally, Marrow has his intermission phase: High Tide. He runs to the center of the room, throws down his anchor, and starts channeling party-wide damage. The arena fills with water that tries to sweep you away. The only way to survive is for every party member to quickly click the anchor. This tethers you all together in a line and stops the current.
But it’s not over. During this 20-second phase, sharks will dash across the room. Since you are tethered, movement is tricky. If you move too far, you get snapped back. The best strategy I’ve found is for the entire group to stack directly on the anchor and rotate together in the same direction to dodge the incoming shark lines. If someone gets hit, nuke the shark. This is the perfect time for group-wide defensive and healing cooldowns.
Once the phase ends, the water recedes, and the fight repeats until he’s down.
The Jungle Gauntlet: More Trash to Bash
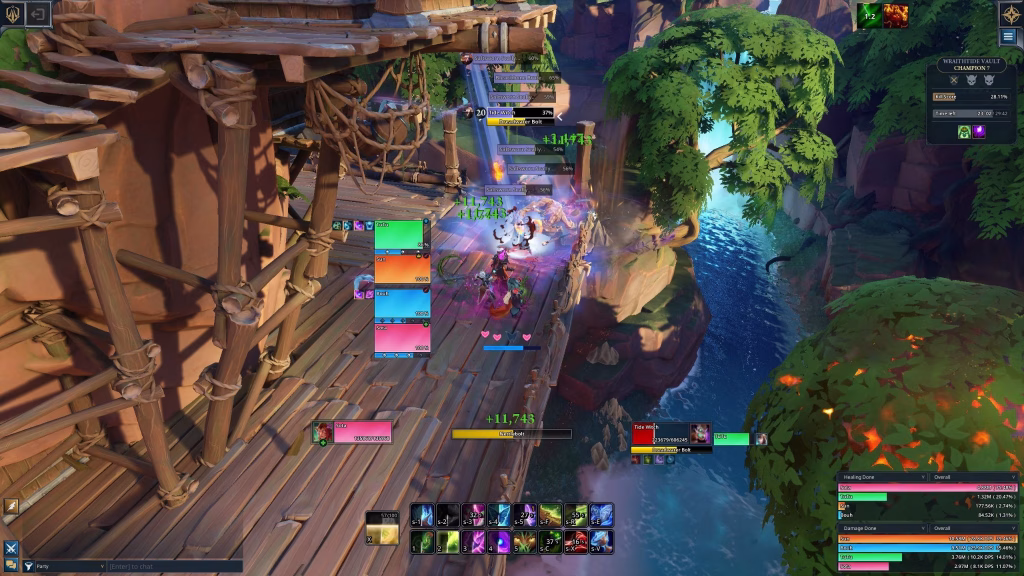
After you defeat Marrow, you will head through a pirate village and into a jungle, where new (and old) trash mobs await. The most dangerous new mob is the Scuttlejack Canioneer. This guy has Shackle Blast, a cast that roots a random player until the chains are destroyed. You must interrupt this. He also channels Bombs Away, spawning tons of AoE circles. A CC or stun can stop this channel.
You will also encounter Beast, Lasher, and Greedbound mobs. The Lashers are particularly nasty, and they come in two flavors. This is what you need to know:
| Mob Name | Key Ability | Strategy |
| Ruins Lasher | Acidic Sap | Spawns green puddles under random players. Just move out of them. Simple. |
| Barbarous Lasher | Wicked Thorns (Passive) | Reflects 25% of all damage taken. Do NOT pull multiple of these. Focus fire. |
| Barbarous Lasher | Crush Armor | A heavy tank hit that also applies an armor reduction debuff. Use defensives. |
The tank needs to be very careful pulling Barbarous Lashers, especially with other hard-hitting mobs like the Jungle Stalkers (who have Stalker’s Bite) or Grave Scythes (who have Heavy Strike). That Crush Armor debuff is no joke.
Boss 2: Bale Orum – The Hoarder’s Game
Bale Orum is a completely stationary boss, and in my opinion, one of the most unique fights in Fellowship. The tank does not tank the boss. Instead, the boss just spams Temptation at random players, which deals minor damage but gives the boss a stacking haste buff called Deepening Shadows. This is the fight’s enrage timer.
So, what does the tank do? They play a mini-game.
An Orb of Bale Orum spawns in the arena. Players can attack this orb to push it around. The direction it flies is based on the angle you hit it from. The tank’s entire job is to hit this orb and roll it over the Piles of Cursed Treasure that spawn around the room.
Every so often, the boss will channel Horde. If it consumes any available treasure piles, it heals. But, if the tank has “cleaned” the treasure piles with the orb, the boss consumes the orb instead. This stuns the boss and deals a massive chunk of damage based on how many piles the orb rolled over. This is your main source of damage.
The rest of the group can make the tank’s life easier. The treasure piles spawn near random players. I recommend having your ranged DPS and healer stack up to bait the piles into one area. Once a few have spawned, they can rotate to a new spot, giving the tank a clear, safe area to roll the orb without hitting any players.
To make this harder, the boss spawns Coallesing Avarest tornadoes that roam the room and will block the orb. The tank has to navigate around these. Everyone needs to dodge the Erupting Envy frontal, which aims at a random player and covers about a quarter of the room. And healers, get ready for Shadow Greed Eclipse. This is an 8-second channel of heavy group damage. Use your healing cooldowns here.
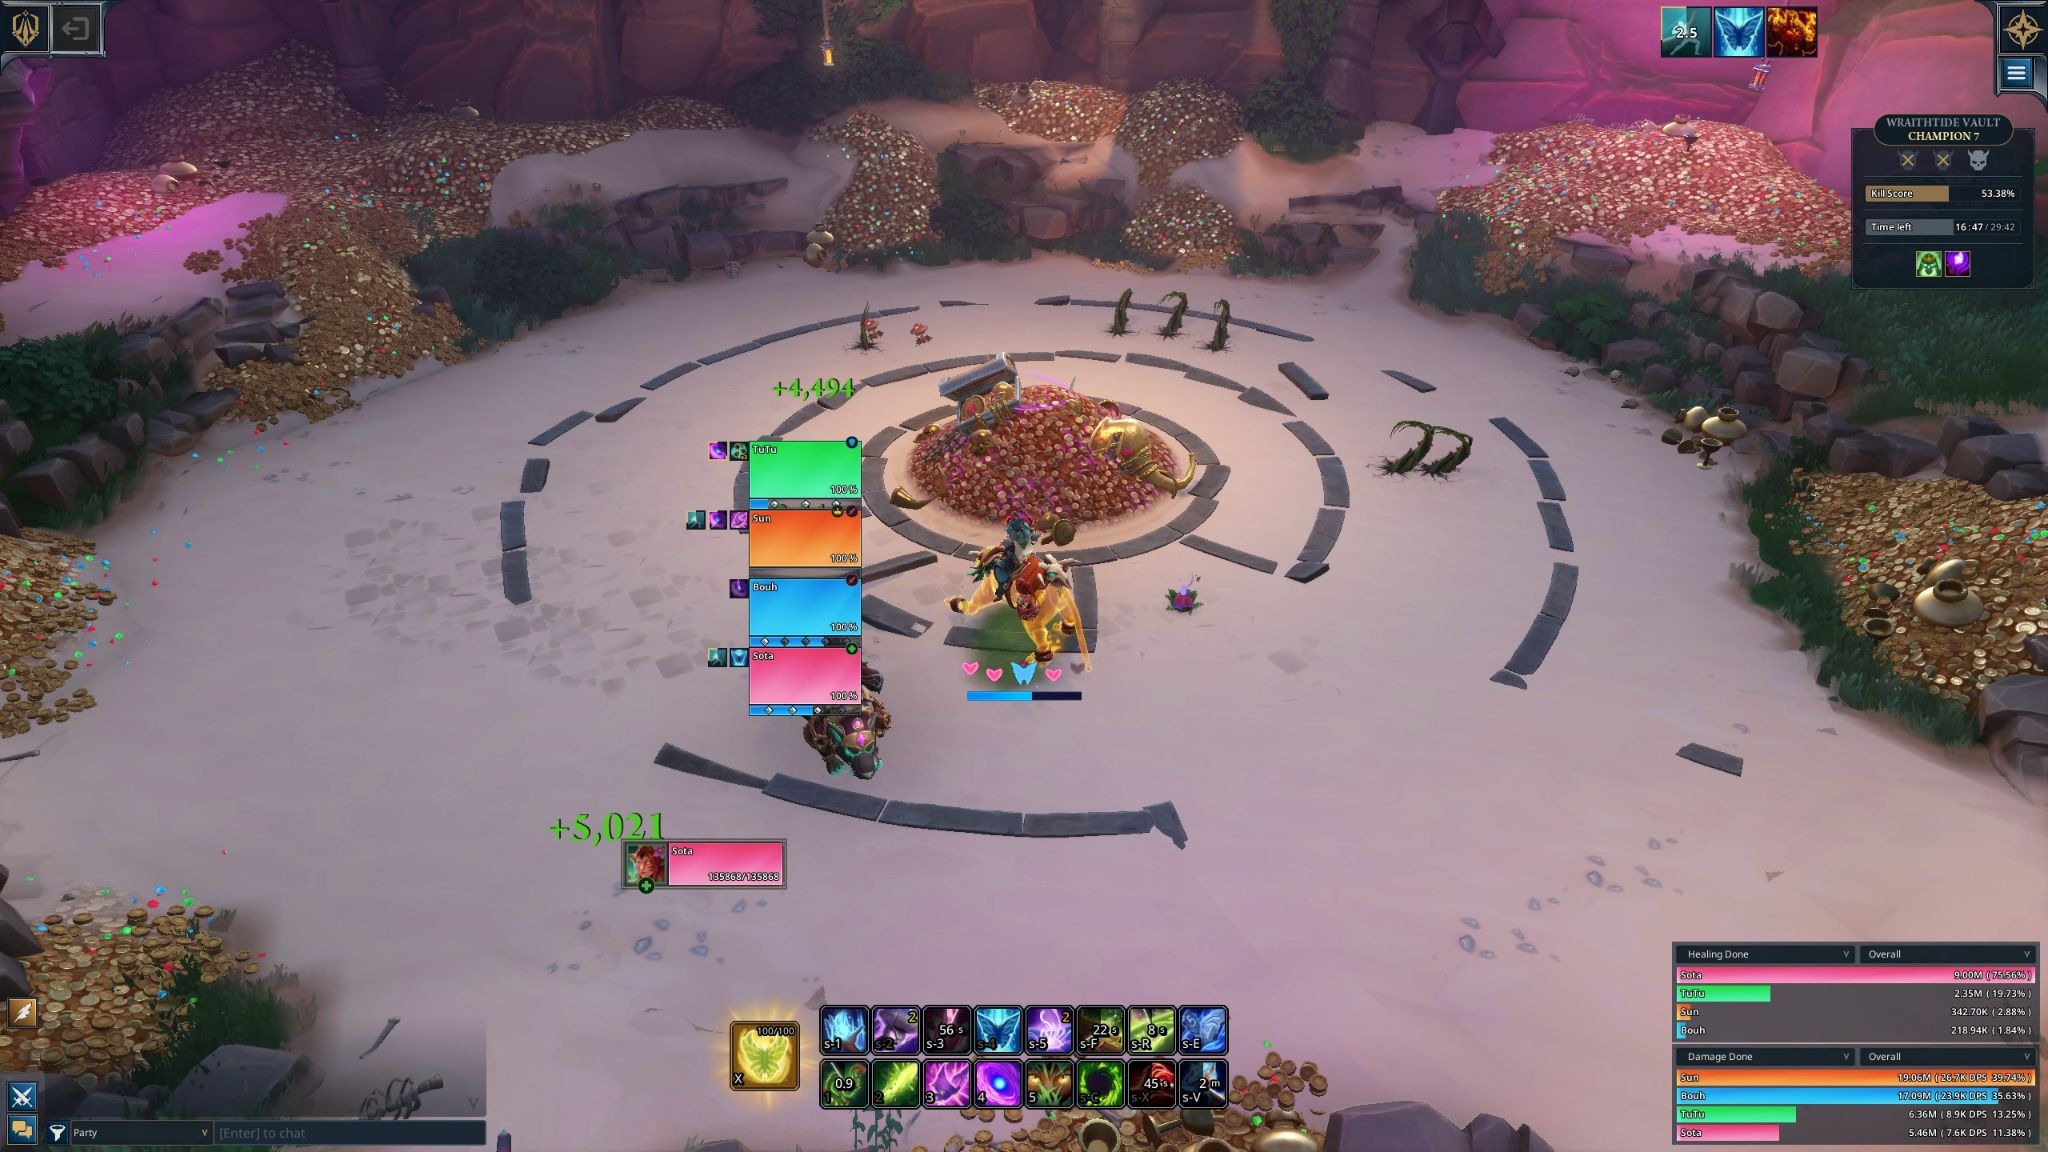
Boss 3: Deathless Katrine – The Final Showdown
After Bale Orum, you will fight your way to Katrine’s ship for the final boss. This is a multi-phase gauntlet that tests everything you have learned.
Phase 1: Add Control is Everything
You do not pull Katrine alone. She is joined by two Scuttlejack Canineers, the same ones you fought in the trash. These adds keep all their abilities, including Shackle Blast (the root) and Bombs Away (the AoE circles).
This is my strategy: focus all your damage on one Canioneer and burn it down as fast as possible. Keep interrupts and CCs rolling on both mobs’ Shackle Blast casts. Once the first add is dead, swap to the second. Only when both adds are dead should you focus on the boss. The fight becomes infinitely easier.
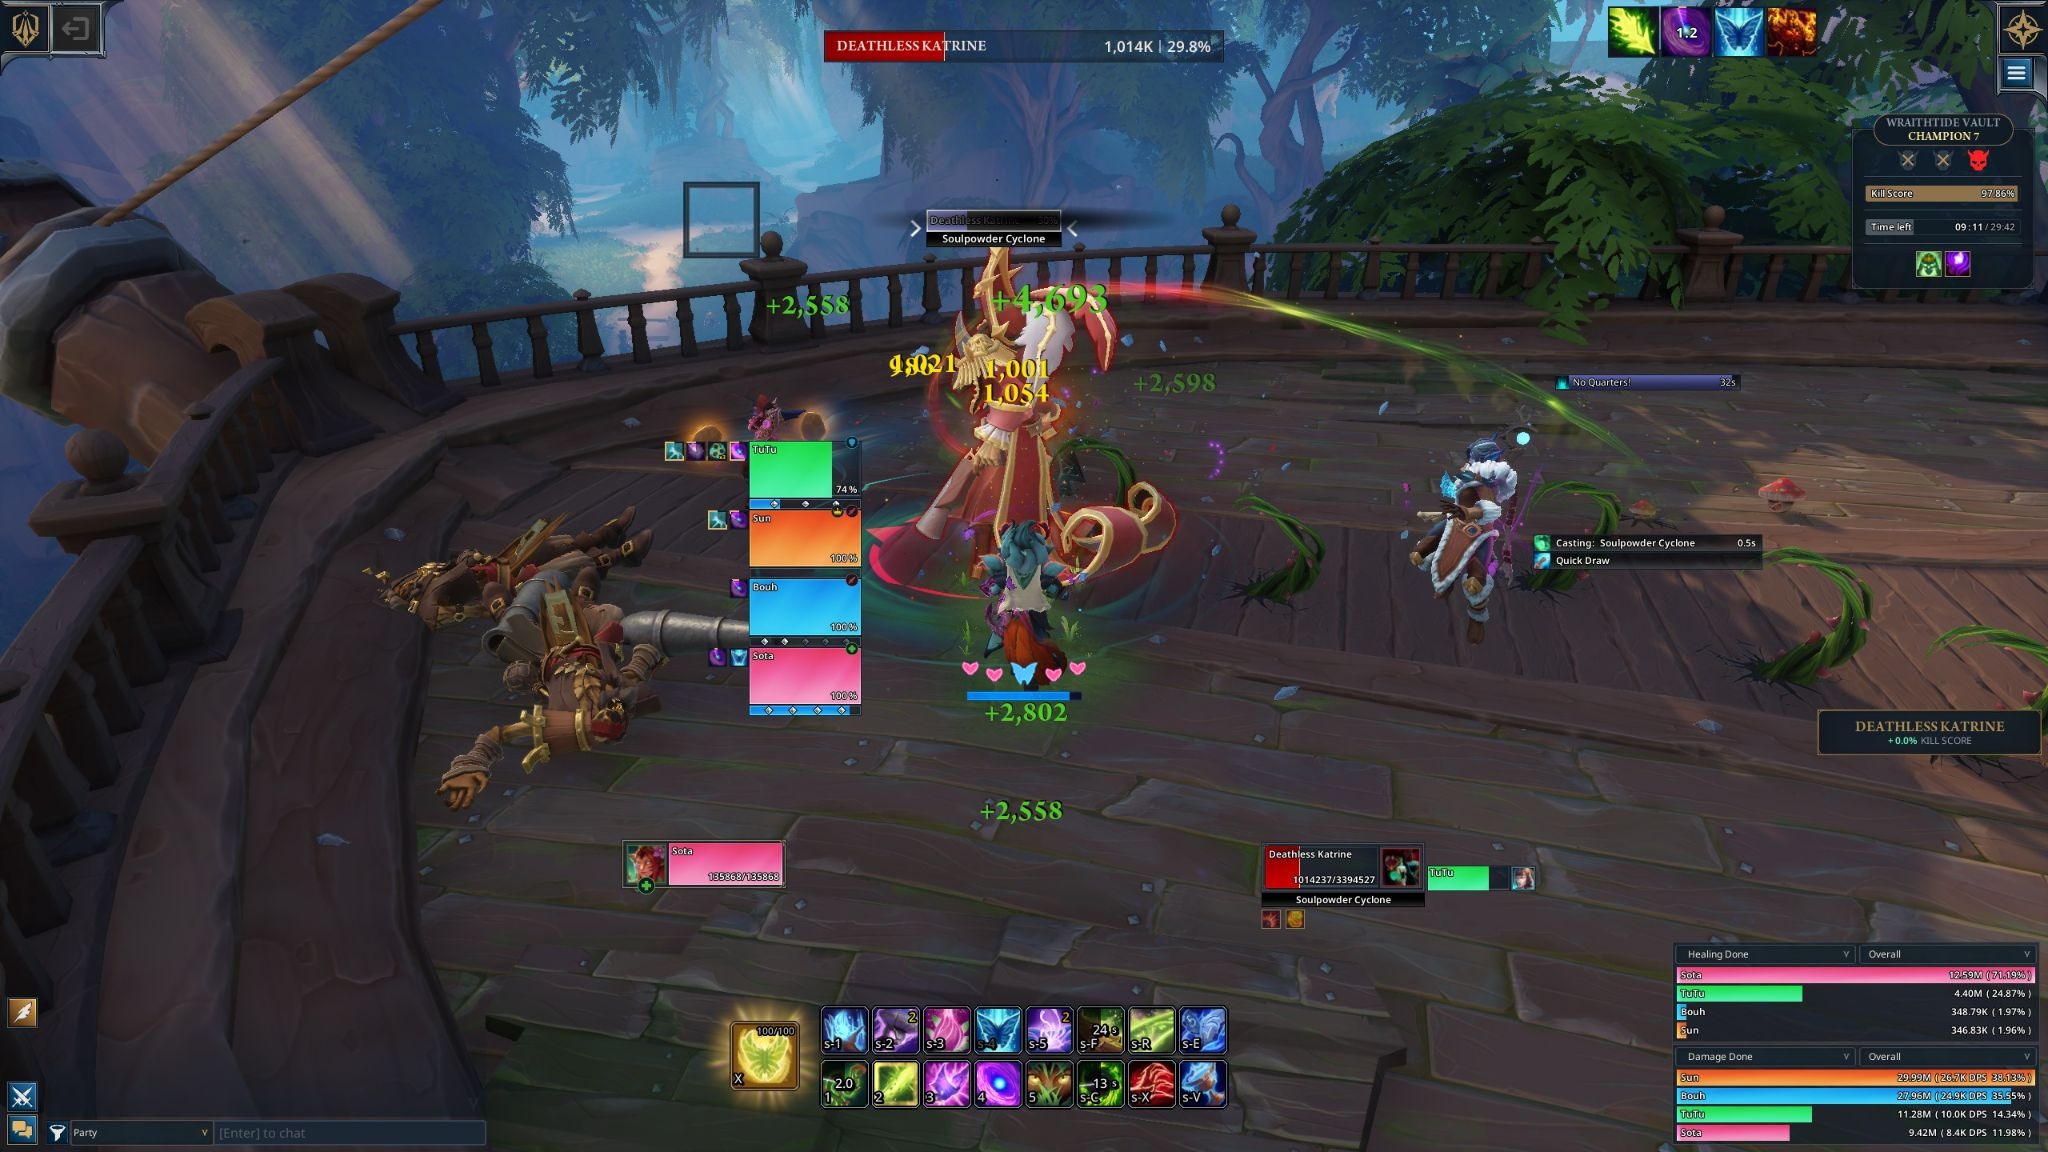
While this is happening, Katrine herself is active. Her main group-damage ability is Quick Draw, where she fires seven bullets at random players. This is very dangerous when it overlaps with add mechanics. Use group defensives here. She will also cast Soul Powder Cyclone, spinning and firing off line attacks. If you get hit, you get the Soul Powder Shot debuff and will explode, so move away from your group.
Finally, she casts No Quarters. This creates a safe soak zone under the boss, while the rest of the room fills with shadow puddles. I recommend having your group pre-position under the boss as this cast begins, so you can safely split the damage.
Phase 2: The Gauntlet and the Real Fight
When you get Katrine to zero health, she doesn’t die. She casts Thwart the Mutiny, which sends your entire party to the other end of the ship. You must then run a gauntlet, dodging hostile souls and beams, to get back to the boss arena.
Once you are back, the fight resumes. She still uses Quick Draw and Soul Powder Cyclone. But No Quarters is replaced with a new ability, Touch of Death. This is a debuff applied to players that drops a large puddle on the ground when it expires. Targeted players must drop these puddles at the edges of the ship. Do not clog up the middle of the room.
To make things even more stressful, Katrine will occasionally use Sever Soul on a random non-tank player (yes, this includes your healer). This sends them all the way back to the start of the gauntlet, forcing them to run it again. If your healer gets sent, your group needs to be ready. Pop personal defensives, use health relics, and survive the next Quick Draw until they return.
Vault Conquered
The Wraithtide Vault is, without a doubt, a major step up in difficulty and a highlight of the current Fellowship endgame. It demands constant awareness, flawless interrupt coordination, and precise positioning from every member of your group. From dodging cleaves and soaking circles with Marrow, to playing soccer with Bale Orum’s orb, to the chaotic add control of the Katrine fight, this dungeon will test you.
It’s a fantastic piece of content, and conquering it feels like a real achievement. It definitely earns its place at the top of our Fellowship dungeon list for this patch.
I hope this guide helps you and your group secure your first clear. Let me know how your runs go in the comments below, or if you have any different strategies that you’ve found success with. For more guides and deep dives like this one, be sure to check out our Gaming Insights category right here on RivalSector.com.
Now get in there and get that loot. Elias out.