Welcome to the ultimate crosshair database for Marvel Rivals! The perfect crosshair is a critical part of your setup, but “perfect” can mean different things depending on your goal. That’s why we’ve hand-picked a huge variety of presets for every type of player. On this page, you’ll find:
- Streamers Crosshairs to emulate the pros.
- Hero-Specific Crosshairs optimized for each character’s kit.
- Funny Crosshairs for when you just want to have a laugh.
Browse the categories, find your fit, and copy the code to upgrade your aim instantly.
Streamers Crosshairs
Ever wonder what crosshair your favorite streamer is using to dominate the lobby? We’ve gathered the exact presets used by top players to give you a competitive edge. ➡️ Browse all tested streamer and pro crosshairs.

Bogur

Moistcr1tikal
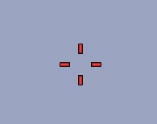
Nadeshot
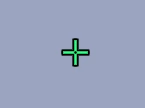
Necros
Funny Crosshairs
Tired of the same old dot? Sometimes the goal isn’t to win, but to make your opponent confused. For those moments, we have a special collection of the most absurd and hilarious setups. ➡️ Explore our complete collection of funny crosshairs here.
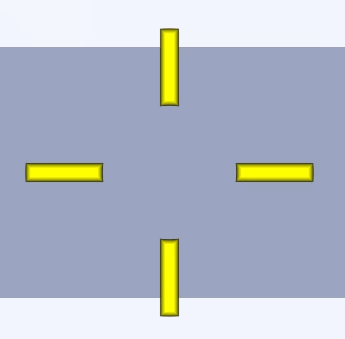
100% Headshot Rate
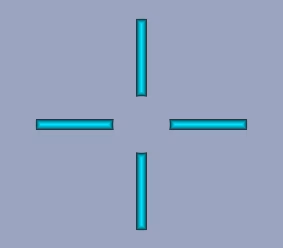
Aimbot Not Included
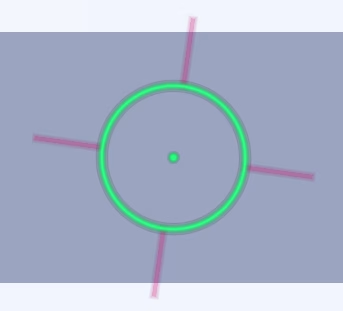
Drawn by Master

Hits Everything But The Enemy
Hero-Specific Crosshairs
Using the same crosshair for every hero is a mistake. To unlock a hero’s true potential, you need a setup tailored to their specific weapon and abilities. ➡️ Find the perfect crosshair for your main hero here.


Adam Warlock
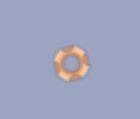
Angela


Black Panther

Black Widow


Blade


Captain America


Cloak and Dagger

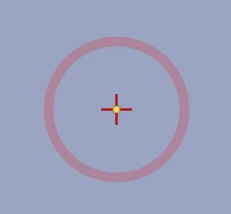
Doctor Strange
How to Set Up Your New Crosshair
Getting your new crosshair from our site into Marvel Rivals is simple, but the process is different depending on your platform. Follow the guide below for either PC or Console.
For PC Players (Import Code)
PC players can use the convenient import code to apply a crosshair in seconds.
- Copy the Crosshair Code: Use the “Copy” button next to your chosen crosshair on our site.
- Launch Marvel Rivals: Open the game and go to the main menu.
- Navigate to the Crosshair Menu: Go to Settings > Keyboard > Combat > HUD. This is where you’ll find the crosshair customization options.
- Find the ‘Import’ Button: Look for an option labeled “Import,” “Import Profile,” or a similar icon.
- Paste and Confirm: Paste the code you copied from our site into the text box that appears and hit ‘Apply’ or ‘Confirm’.
That’s it! Your new crosshair will now be active in-game.
For Console Players (Manual Setup)
Console players need to enter the values for each setting by hand. This requires careful input, so take your time to match each value exactly.
- View Manual Settings: On any crosshair card, click the Console (Manual) tab to see a detailed list of all the values (Width, Opacity, Color, etc.).
- Launch Marvel Rivals: Open the game and go to the main menu.
- Navigate to the Crosshair Menu: Go to Settings > Controller > Combat > HUD.
- Enter Each Value: Go through the settings in the game one by one, adjusting each slider and option to match the values shown on our website.
- Save Your Changes: Once all values have been entered correctly, apply or save the new crosshair profile.
Now you’re ready to play with a professionally tuned crosshair on your console!

