Hela is often presented as a high-skill, high-reward duelist in Marvel Rivals, and this guide aims to give a comprehensive, practical view of how she may be played effectively. The meta may shift over time, and balance changes or new strategies could alter some of the recommendations below, so consider this a solid baseline rather than an absolute rulebook. The text that follows blends tactical guidelines, suggested practice routines, team considerations, and situational checklists that should help players become more confident with Hela, while acknowledging the uncertainty and nuance that surround ever-changing competitive play.
| Type | Name / Action | Description & Notes | Picture |
| Primary Fire | Nightsword Thorns | Fires deadly sword projectiles (hitscan-like or very fast). ~8 ammo (recently increased to 10). Excellent for landing headshots, which can one- or two-tap enemies. | |
| Secondary Fire | Piercing Night | Shoots multiple thorns that stick to targets, then explode after a delay (~3 seconds), dealing area damage. Cooldown ~8 s. | |
| Shift (Dash) | Astral Flock | Hela transforms into a Nastrond crow and dashes in a chosen direction. She becomes invulnerable during the dash. Dash distance ~18 m, speed ~15 m/s, cooldown ~12–15 s. | |
| Ability (E) | Soul Drainer | Fires a Hel sphere that explodes, dealing damage and briefly stunning (~0.3 s) and pulling enemies inward, in a small AoE. Cooldown ~12 s (some sources suggest ~10 s after updates). | |
| Passive #1 | Nastrond Crowstorm | When Hela defeats an enemy, a crow appears and explodes after a short delay, dealing AoE damage (~1.8 s delay, ~5 m radius, ~80 damage). | |
| Passive #2 | Hel’s Descent | Holding jump allows slow fall. Descending speed ~3.5 m/s; horizontal movement ~6 m/s. | |
| Ultimate (Q) | Goddess of Death | Hela soars skyward and unleashes Nastrond crows from each hand for ~10 seconds, dealing continuous AoE damage. The ultimate gives a separate health bar and powerful ranged damage. |
This compact abilities table made by our expert from Rivals Sector is intended to give quick categorical insight into what each ability feels like at a glance, without repeating detailed mechanics that are explained later. Use it to orient your decision-making during fights, then consult the full abilities section for deeper tactical examples and situational timing.
Understanding Hela, role, rhythm, and risk
Hela, as described on the official site, tends to function as a precision damage dealer whose effectiveness likely depends more on aim, timing, and positioning than on raw survivability. She may excel at controlling space from mid to long ranges and creating burst windows by combining a brief stun or zoning effect with accurate shots. Because her health pool is generally lower than brawlers or frontliners, players likely need to avoid extended close fights and treat engagements as short exchanges where one or two well-placed hits decide the outcome.
Her rhythm in a match often follows an observe, apply, disengage pattern. First, observe enemy movement and ability windows, then apply pressure with controlled shots and disruptive abilities, and finally disengage or reposition before enemies can collapse. This pattern will vary by map and team composition, so flexibility is important. Some players may prefer a patient, anchor-style Hela who holds tight angles and punishes overextensions, while others may adopt a proactive, poke-heavy approach that tries to whittle enemies down before committing. Both approaches can be valid, and the likely best choice depends on your teammates, enemy composition, and the map objectives you need to protect or contest.
Abilities, how to use them smartly
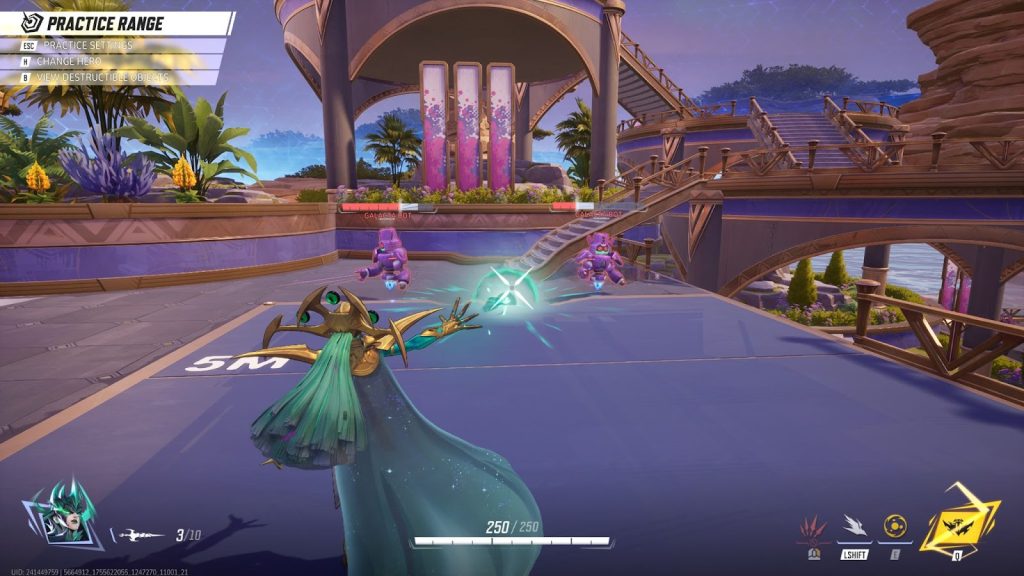
Each of Hela’s abilities seems designed to offer distinct tactical options, and understanding their intended uses may be more valuable than memorizing exact cooldown numbers. Think of abilities as tools that change the geometry of an engagement, rather than simple damage sources.
Primary attack is most effective when fired in short controlled bursts that favor accuracy over raw speed. Tapping the trigger and resetting aim between shots increases headshot consistency. Combine this with slight movement, for example jiggle-peeking from cover, to make you harder to punish while retaining accuracy. When an enemy begins to commit, counter-strafe briefly to steady your crosshair for a headshot, then use mobility to reset the fight.
Secondary or area-type ability is best used to deny space, pressure grouped enemies, or force opponents off objectives. It may not rely on headshot damage, so aim for placement and timing. Launching it into chokepoints, into the path of a push, or preemptively under enemy cover can cause them to reposition or take suboptimal fights. Use it as a zone control tool more than a pure fragging ability, and try to bait predictable movement patterns – for example, launching it across an expected rotation to corral enemies into your sightlines.
Mobility is Hela’s safety valve, and it should be treated as both an offensive reposition tool and an escape. Using mobility to surprise opponents from high ground or an unexpected angle may yield quick eliminations, but expending it recklessly can leave you vulnerable. Try to keep at least one mobility option available when entering contested areas. When isolating an opponent, use mobility to close the gap on favorable ground, then immediately fall back after the exchange to avoid multi-person collapses.
A small stun or interrupt ability can be a game-changer if timed right, and reserving it for clutch moments often has higher expected value than using it early. Save interrupts for diving characters or for stopping enemy combos that would guarantee your death. In team fights, landing a stun on a key diver or an enemy charging an ultimate could swing exchanges in your team’s favor, but be mindful that some enemies may have counters or invulnerability frames that reduce the stun’s impact.
The passive that spawns a follow-up hazard after eliminations creates a secondary threat that can punish clustering or delay enemy pushes. Use it to zone objective approaches or to secure territory after a successful engagement. It may be best to leave the area briefly after a kill to maximize the passive’s disruptive value, rather than immediately re-entering and wasting the effect.
The ultimate should probably be used reactively in many situations, especially when you need to turn a near-defeat into a stalemate or to zone multiple opponents from an objective. It may be tempting to use it purely to secure a kill, but because counters and environmental interactions can reduce its value, choose moments where enemies cannot easily neutralize it, or when denying objective control is more important than raw eliminations in Marvel Rivals.
Playstyle and advanced tactics
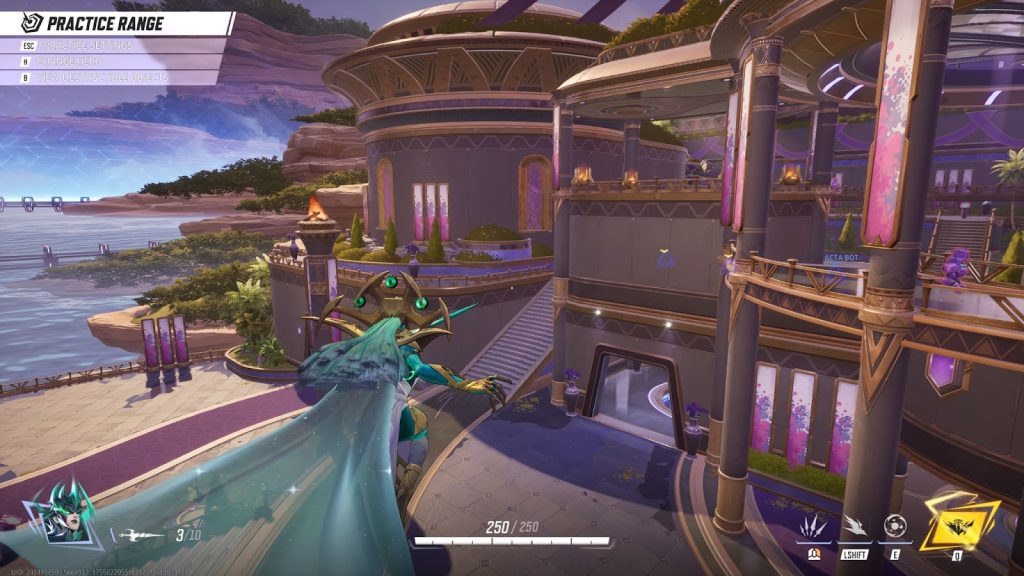
Hela’s ideal playstyle typically centers on control of space and tempo, rather than raw brawling. Positioning is critical, aim to take locations where you have a clear sightline to main approaches and multiple escape paths. High ground often gives a visibility advantage and may increase survivability, but be aware of flanking routes and predictable positions that experienced opponents will pre-aim.
Distance management is less about maintaining a fixed number of meters and more about always having an option to retreat. In practice, that means playing around corners, using cover effectively, and not committing if you do not have your mobility ability available. When pushing, try to force opponents into predictable movement – for example, baiting a shorter-range hero into your firing lane – and then punish with burst.
Economy of abilities matters, Hela may not be able to spam abilities without consequences, so prioritize utility in a way that supports your team plan. For example, using a disruptive ability to deny a key objective capture or to interrupt a heavy ultimate may be more valuable than attempting to secure a single frag. Learning when to shift from damage dealer to objective denier is part of higher-level play. Frequently reassess the scoreboard and objective timers to decide whether your role is to secure eliminations or to prevent enemy progress.
Sensitivity and aim training also deserve attention. Small adjustments like lowering sensitivity slightly for better long-range precision, or practicing tap-firing on moving targets, could improve consistency. Micro-adjustments to aim when strafing often reduce miss rates, but this will likely vary by personal preference and hardware, so experiment deliberately and track the small improvements over time.
Team synergies and matchup thinking

Hela may pair well with characters who can absorb or negate incoming damage, or who can create chaos for her to capitalize on. Allies that provide shields, brief crowd control, or healing might let her play more aggressively. Conversely, matchups against characters who can close distance quickly or who have reliable invulnerability windows may require extra caution.
When considering matchups, think in terms of threat – is an opponent a diver who can bypass your angles, or are they a shielded frontline who will force you to waste resources? If the enemy roster contains multiple divers or gap-closers, adopt a more conservative posture and stay closer to teammates who can peel. If the opposition is primarily long-range or slow-moving, you might be able to dictate engagements by controlling mid-range lanes and forcing them to approach on your terms.
Teamplay can significantly amplify Hela’s impact. A teammate who can lock down a target briefly creates a guaranteed window for headshots, while one who can place area denial behind enemies may push them into your line of fire. Communicate simple cues, for instance calling when your mobility is available or marking a target you plan to focus, and adapt based on how well opponents respond. Small, clear calls often produce better coordination than long explanations under pressure.
| Team-Up Partners, Role, Tactical Benefit |
| Magneto, Frontline buffer, enables safer entry and space control |
| Spider-Man, Flanker, creates chaos that opens clean lines of fire |
| Adam Warlock, Support, positional tools that increase survivability |
| Thor, Revival or sustain, increases team longevity after fights |
This team-up table is concise, it highlights partner types and the tactical niche they occupy when paired with Hela, without repeating detailed ability mechanics described elsewhere. Use it to quickly assess whether a prospective team composition will amplify Hela’s strengths or expose her vulnerabilities.
Practical drills and training routines
Improving with Hela may require targeted practice in several short, focused sessions. A suggested routine could include:
- Warm-up, five to eight minutes of dynamic aim training focusing on transitions between targets at different distances, practice quick reacquisition after mobility moves.
- Tap-fire drills, ten to fifteen minutes of controlled primary attack practice on moving targets, aim for headshot consistency under slight movement, track improvement via hit percentage.
- Ability simulation, ten minutes in custom matches or practice ranges, practicing ability placement and escape timing from common map choke points, simulate counterplay.
- Scenario review, five to ten minutes watching recent rounds to identify moments where ability use or positioning could have been improved, note two repeatable errors to correct next session.
Rotate these routines across a week so you are not overtraining a single aspect. It is helpful to measure improvement by tracking hit rate and the frequency of successful escape plays rather than raw elimination count. Small, measurable improvements are more meaningful over time and more likely to translate into consistent performance in matches.
Closure
Hela is likely one of those characters who rewards investment in aim, timing, and game-sense more than sheer repetition. She can be devastating in the right hands, but she may also be fragile when played as a lone skirmisher without support. Treat the tips here as adaptable principles rather than absolute rules, practice deliberately with short training loops, and be ready to adjust as the broader meta evolves. If you refine a particular tactic that seems especially effective in the current patch, it may be worth sharing with the community, because collective experience often reveals small but impactful tricks that a single guide cannot anticipate.

