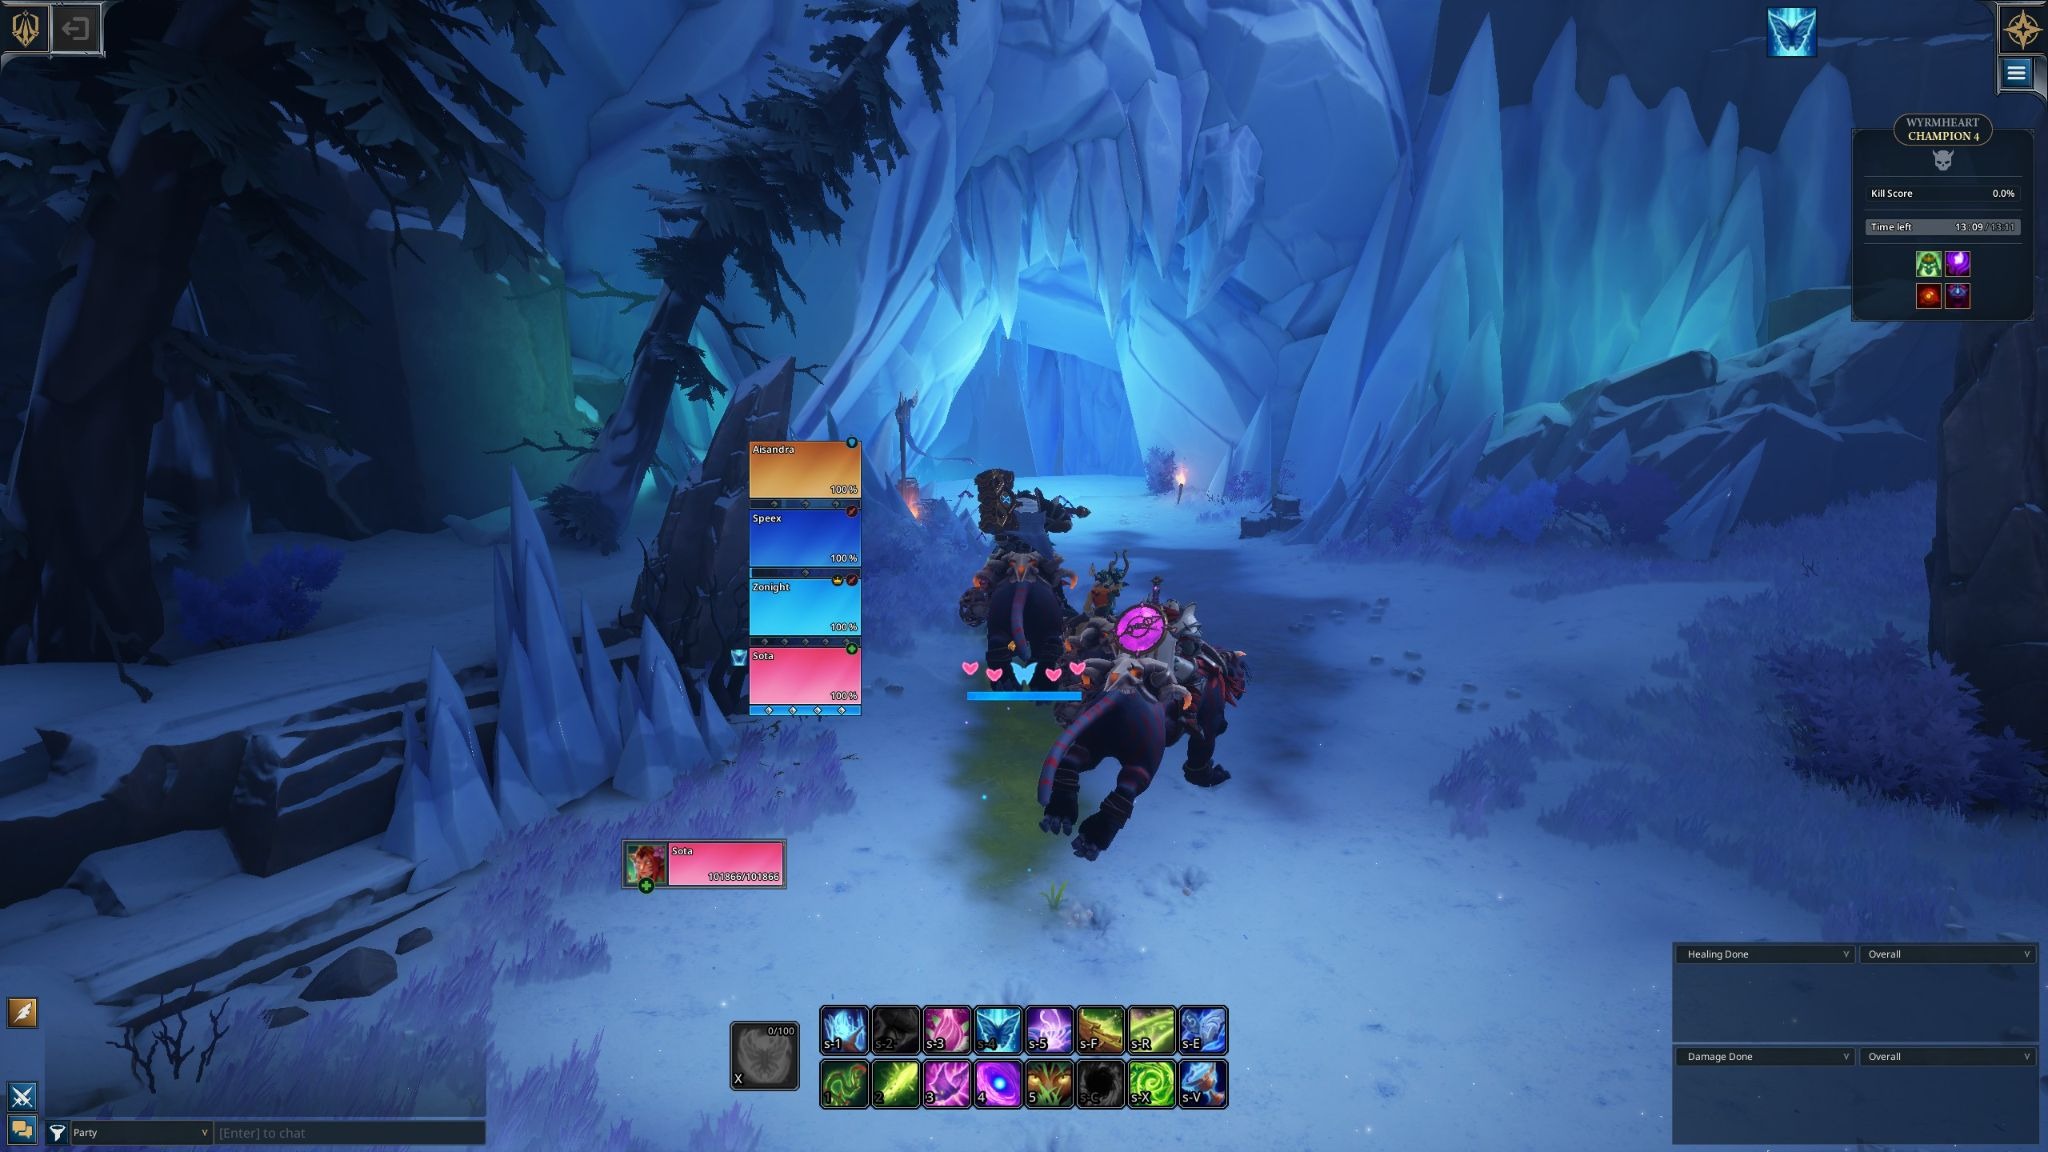
Hello, gamers, Elias here, your lead guide writer at Rivalsector.com. I have been sinking my teeth into the early access build of Fellowship, and let me tell you, this game has some serious potential. But with a new action-RPG comes new challenges, and Fellowship’s dungeons are no joke. I have seen a lot of players hitting a brick wall, and one name keeps coming up again and again: Wyrmheart.
This icy cavern is a true test of your group’s coordination. It’s the kind of instance that chews up and spits out unprepared pick-up groups (pugs). I have been studying the strategies, including a fantastic video breakdown from the pros at Method, to forge a clear, no-nonsense path to victory for you. If you are tired of wiping on that last boss or just want to start farming this place efficiently, I have got you covered.
This is your complete guide to the Wyrmheart dungeon.
The First Big Decision: The Path Left or Right
Almost immediately, the dungeon presents you with a choice: a path to the left (humanoids) or a path to the right (elementals). Let me make this simple for you.
I strongly recommend you go left.
If you are in a fully coordinated, five-person group on voice chat, the right path is doable. But for 99% of players, especially those in pugs, the left path is significantly safer, more predictable, and less likely to end in a frustrating wipe. The humanoid mobs have clear, telegraphed abilities that are all about interrupts and positioning.
The elemental path, on the other hand, is a nightmare of stacking DoTs, mobs that spawn more mobs on death, and a mini-boss (the Greater Ice Elemental) that has a lethal group soak mechanic. A single player failing that soak will kill your party. We are here for a clean clear, not a headache. So, we go left.
Mastering the “Easy” Path: Left-Side Mobs

Just because it is the easier path does not mean you can turn your brain off. This side is all about crowd control (CC) and interrupts. Missing a key interrupt will cost you.
Here is your most-wanted list for the humanoid packs:
- Tundra Stalker: This is your standard melee mob. Its only dangerous move is Rapid Fire, a channeled cone attack aimed at the tank. If you are tanking, just aim this away from your group and then take a single step out of it. Your DPS can also stun or CC the mob to stop the channel.
- Deceitful Schar: This is your priority target. This caster’s main spell, Rune of Detonation, channels heavy AoE damage on the entire party. It must be interrupted with a kick, stun, or CC the second you see it start. Use spare interrupts on their Arcane Strike to help your tank, but never miss a Rune.
- Blades of Cithro: A classic whirlwind enemy. They will fixate the tank and start channeling Slicing Blades. All melee DPS need to be positioned behind this mob to avoid getting shredded. Also, be aware that they enrage at 30% health, so tanks should save a small defensive cooldown for the end of their life.
- Cold Heart Assassin: This is the most annoying mob in the pack. They will randomly jump to a player (usually your healer) and stun them while channeling Wicked Strikes. Your team needs to be fast. The second you see this, use an interrupt or CC to break the channel and save your teammate.
Handle these four mobs correctly, and you will cruise to the first checkpoint.
The Ve’s Legacy System: When the Dungeon Fights Back
Once you push into higher-level content (Contender 7 and above), Fellowship activates the Ve’s Legacy system. This is not just a simple stat increase. This system adds entirely new, deadly abilities to enemies. This is the system that will firmly place Wyrmheart near the top of any serious dungeon tier list for difficulty.
When Ve’s Legacy is active, your “easy” left path gets a serious upgrade.
- Deceitful Schar (Caster): Now spawns a Volatile Orb. This orb fixates the furthest player from the mob. It pulses AoE damage to anyone near the kiter, and if it ever reaches its target, it explodes for massive group-wide damage. The strategy? Assign one ranged DPS to always be the furthest player. Their job is to kite that orb away from the party until the Schar is dead.
- Blades of Cithro (Whirlwind): Gains Icebreaker, a leap to a random player that deals AoE damage on landing. The guide notes this is avoidable with a well-timed dash or blink, adding a nice skill check.
- Cold Heart Assassin: Now applies Cold Heart Poison with their attacks. This is a magic DoT that also reduces healing received by 30%. Healers, this is a must-dispel. If this gets on your tank, they can die almost instantly.
The Final Gauntlet and Boss: Apostate Varys

After the paths merge, you will face one last hallway. It contains a mix of the mobs you have already fought, plus one critical new enemy: the Eldren Chronomancer.
This mob is all about buffs and debuffs. It has Decryptify, a channel on the tank that should be interrupted. It also casts Erosion of Time on two players, a DoT that your healer needs to manage (dispel one, heal through the other).
With Ve’s Legacy active, this mob becomes a nightmare. It gains Temporal Manipulation, a channel that gives all nearby enemies a 20% haste buff. This is your number one, stop-at-all-costs interrupt. A hasted assassin or schar will wipe your group in seconds.
Clear this pack, and you are at the final boss: Apostate Varys. This fight is 100% mechanics. DPS does not matter if you fail the test.
Apostate Varys Boss Strategy
This fight is a dance. It is all about interrupts and movement. One person failing a mechanic can easily wipe the raid. Here is the entire fight, broken down.
| Ability | Type / Target | My Tactic (Pug-Friendly Strategy) |
| Icy Death | Tankbuster Cast | A heavy magic nuke on the tank. This can be interrupted, but it’s your lowest priority. If it goes off, tanks must use a defensive. |
| Frigid Mists | Room-Wide Channel | THIS IS THE WIPE MECHANIC. Varys channels to create permanent ice puddles on the floor. The longer the channel, the more puddles. You must assign an interrupt order and stop this cast immediately. The goal is one puddle per cast, maximum. |
| Howling Blast | Tank Frontal Cone | A massive, telegraphed frontal. The tank must always face the boss away from the group (preferably towards a wall) and then simply sidestep out of the effect. Never, ever cleave your party. |
| Glacial Spikes | All Players / AoE | The boss channels, and six ice circles spawn under every player, one after another. You cannot just sprint. You must “stutter-step”: move a little, stop, let a circle spawn, move a little more. For melee, the pro-tip is to stack up before the cast, then all move together around the boss to keep uptime. |
| Splintering Ice | Ve’s Legacy Debuff | This ability only exists on Ve’s Legacy. A random player gets a magic DoT that ticks very hard. When dispelled, it shoots out icicles in a set pattern. DO NOT DISPEL RIGHT AWAY. The target must stand still. Everyone else has 2-3 seconds to see the pattern on the floor and move out of the icicle paths. Once clear, the healer dispels. |
Conquering the Wyrmheart
And there you have it. Wyrmheart is not an easy dungeon, but it is a fair one. It is a fantastic piece of design that teaches you the fundamentals and then brutally tests you with the Ve’s Legacy system.
To summarize:
- Always go left.
- Prioritize interrupts: Rune of Detonation (Schar) and Wicked Strikes (Assassin).
- Respect Ve’s Legacy: Kite the orb, dodge the leap, and dispel the poison.
- On the boss: Interrupt Frigid Mists instantly, stutter-step Glacial Spikes, and manage the Splintering Ice dispel with patience.
This dungeon is a gatekeeper. Master it, and you will be well on your way to conquering Fellowship’s toughest content.
What are your thoughts on Wyrmheart? Have you found a different strategy that works for your group? Let me know in the comments. And for more deep dives, hero builds, and hardware reviews, make sure you are following our Gaming Insights category right here on Rivalsector.com.
I am Elias, and I will see you in the next one. Good luck out there, fellows.