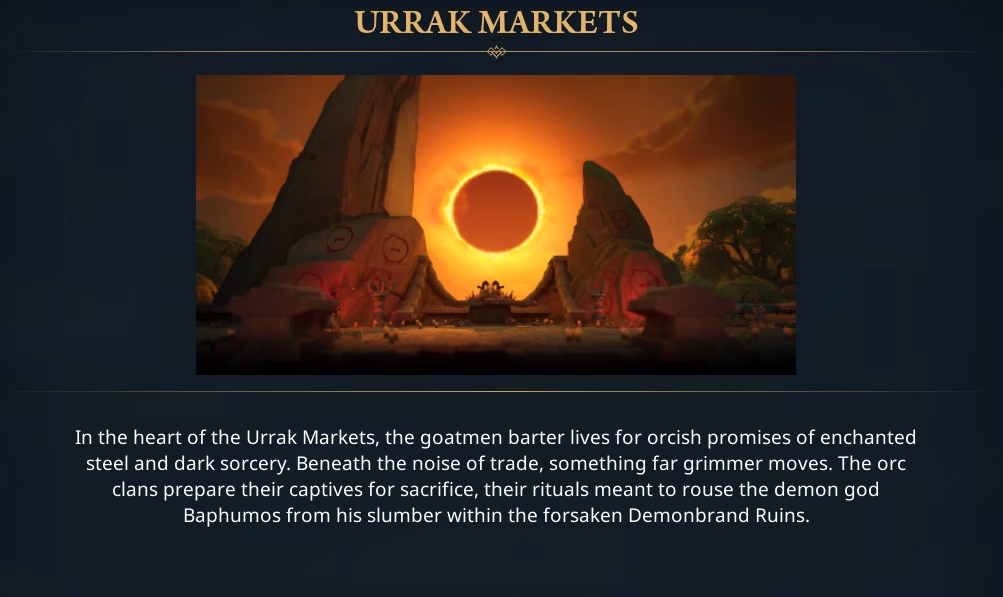
Hey everyone, Elias here from Rivalsector.com. I have been absolutely buried in Fellowship since the Early Access dropped. As I mentioned in my recent Fellowship review, this game is all about delivering that pure, distilled dungeon-crawling experience, and it does not pull its punches. The learning curve is a vertical cliff, and the first dungeon that really feels like a major gear and mechanics check is the Urrak Markets.
I see a lot of groups hitting a brick wall here, and it is almost always for the same reasons. This dungeon is pure chaos. It is packed with high-priority trash mobs, has an open-world feel that can lead you into accidental pulls, and finishes with one of the most coordination-heavy boss fights in the early game.
After grinding this place into dust and experimenting with different strategies, I have put together my definitive guide. We are going to cover the trash mobs you absolutely must respect, my go-to route for a clean and efficient run, and a full, step-by-step breakdown of how to dismantle the dual-boss finale.
Know Your Enemy: Urrak Markets Trash Mobs
You cannot zerg this dungeon. I repeat, you cannot just pull big and AoE everything down. The mobs here have specific, deadly mechanics that will wipe your group if you ignore them. Interrupts, stuns, and positioning are not optional. Here are the all-stars you need to watch out for.
- Slavebind Totems: You will see these stationary totems everywhere. They are a mechanic, not just a mob. They pulse a 20% primary stat debuff to anyone standing near them, which is a massive loss. On top of that, they are usually shielded and immune to damage until you kill the “guard” mobs tethered to them.
- My Strategy: Do not fight on the totem. Have your tank pull the attached guards away from the totem to a safe spot. Burn the guards down. Once they are dead, the totem’s shield drops. Everyone collapses on it. When it dies, it gives your group a 12-second buff called “Breaker of Chains,” which grants a huge boost to your cooldown reduction. Use this buff to chain-pull and blast the next pack.
- Gorestained Butchers: This is your first big healer check. These guys are immune to crowd control and will frequently channel “Furious Tantrum.” This is a heavy, unavoidable AoE pulse on the entire group. Your healer needs to be ready, and it is a great time to pop personal defensives. On higher difficulties (Vayr’s Legacy), they also gain “Mince,” a nasty channeled attack on the tank.
- Man Catchers and Slavers: This is a classic combo. Man Catchers will grip any player more than 15 yards away, damaging and slowing them. Slavers will cast “Bloodlash Wake,” a large AoE circle at their feet. The counter is simple: stack up. Ranged players and healers must stand in melee range (or at least within 15 yards) to avoid the grip. This keeps the pack tight and makes dodging the AoE much easier.
- The Caster Pack (Witches, Hellers, Sears): You will often find these three together, and managing their casts is your group’s number one job.
- Hellers: This is your top interrupt priority. They cast “Restore Vitality,” a potent heal. If this cast goes off, you have basically failed the pull. Kick this 100% of the time.
- Iraq Witches: Their key ability is “Grasping Vines,” which spawns a slowing patch on the ground under a random player. It is not deadly on its own, but it will get you killed when combined with other AoE. Just move out of it.
- Horned Sears: These are interesting. Their “Orb of Blood” hits a random player with a magic debuff. Now, listen up: this debuff increases that player’s damage done by 20%. My group lets this cast go off. We treat it as a buff. Just tell your healer to keep an eye on that player, as they will also take a bit more damage. It is worth it to burn the pack faster.
My Simple and Safe Route for Urrak Markets
The dungeon is a big circle, which can be confusing. I have found the most consistent path is to just hang a right and never look back.
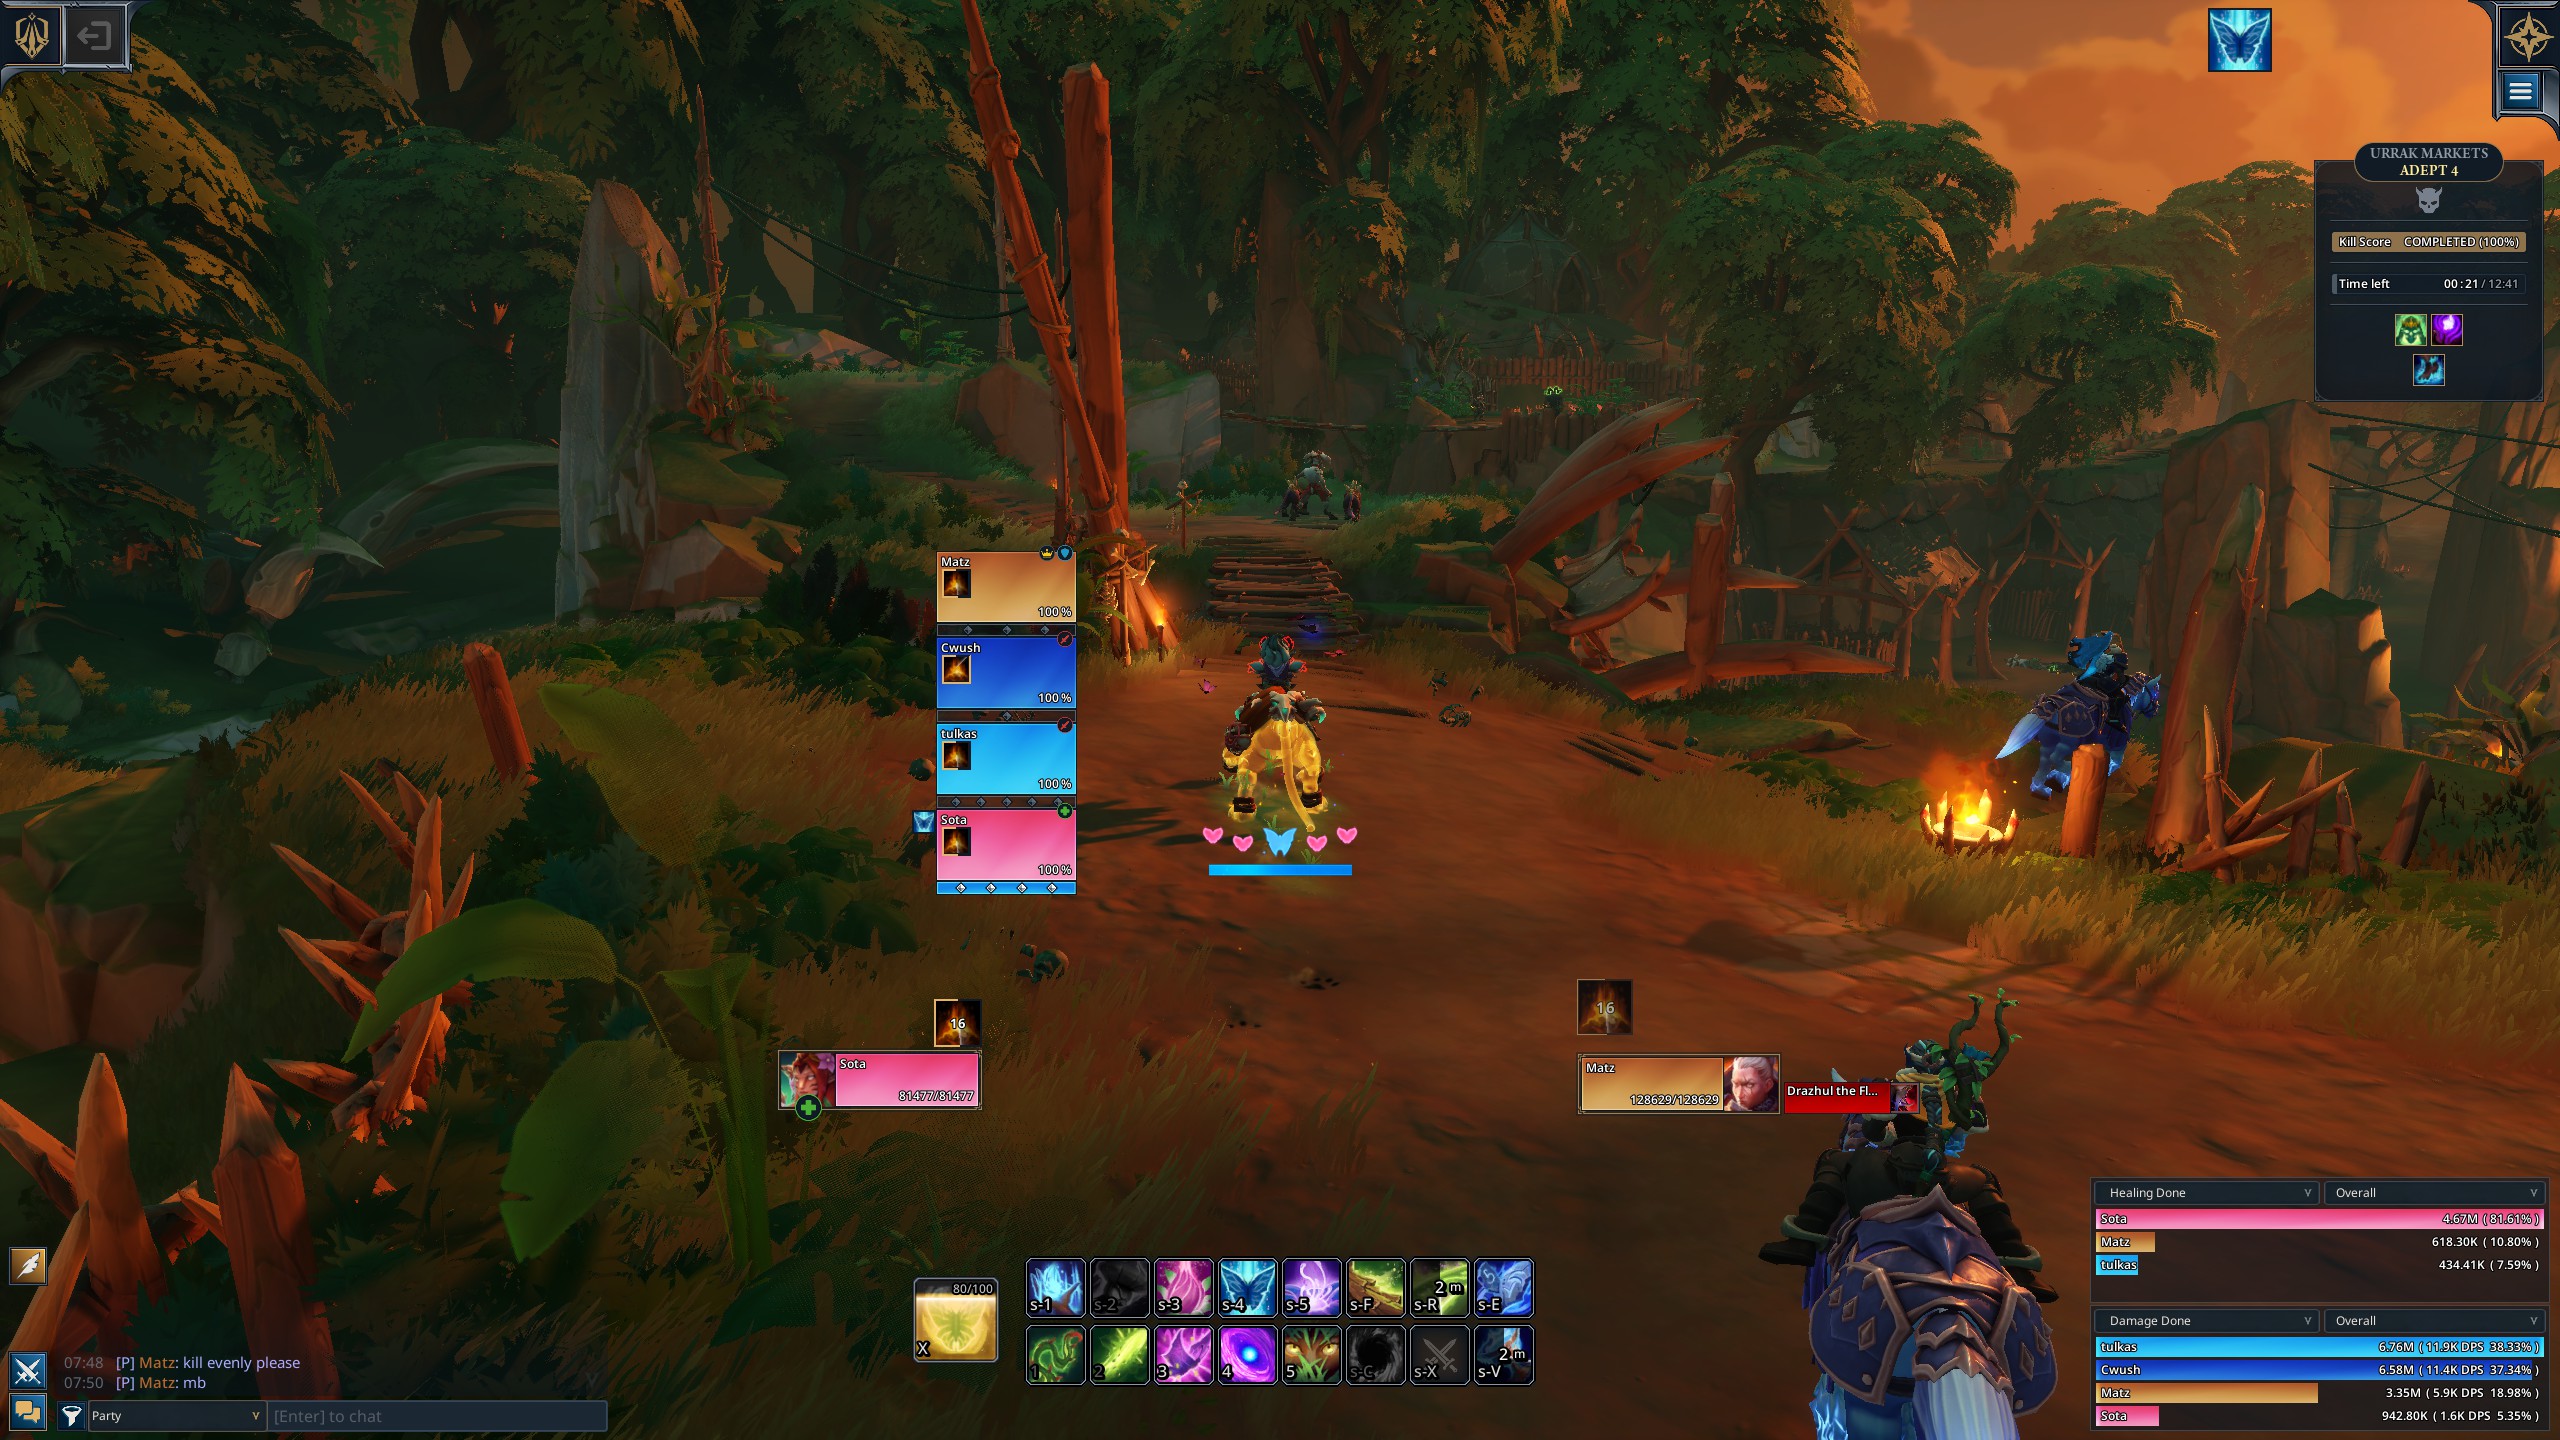
When you zone in, clear the first two platforms. You will then have a choice to go left or right around the large circular market. My team always heads down the path to the right.
We just follow this path, pulling pack by pack. This route is linear, it avoids any surprise patrols, and it lets you manage the high-priority mobs one group at a time. You will snake your way all around the circle until you reach the far side. From there, you will see a cliff to hop down.
Drop down, clear the last one or two packs waiting for you, and you are at the final boss arena. It is that simple. No skipping, no crazy tech, just a clean, full clear that gets the job done.
Boss Guide: Draul the Fleshroker and Slave Trader Brule
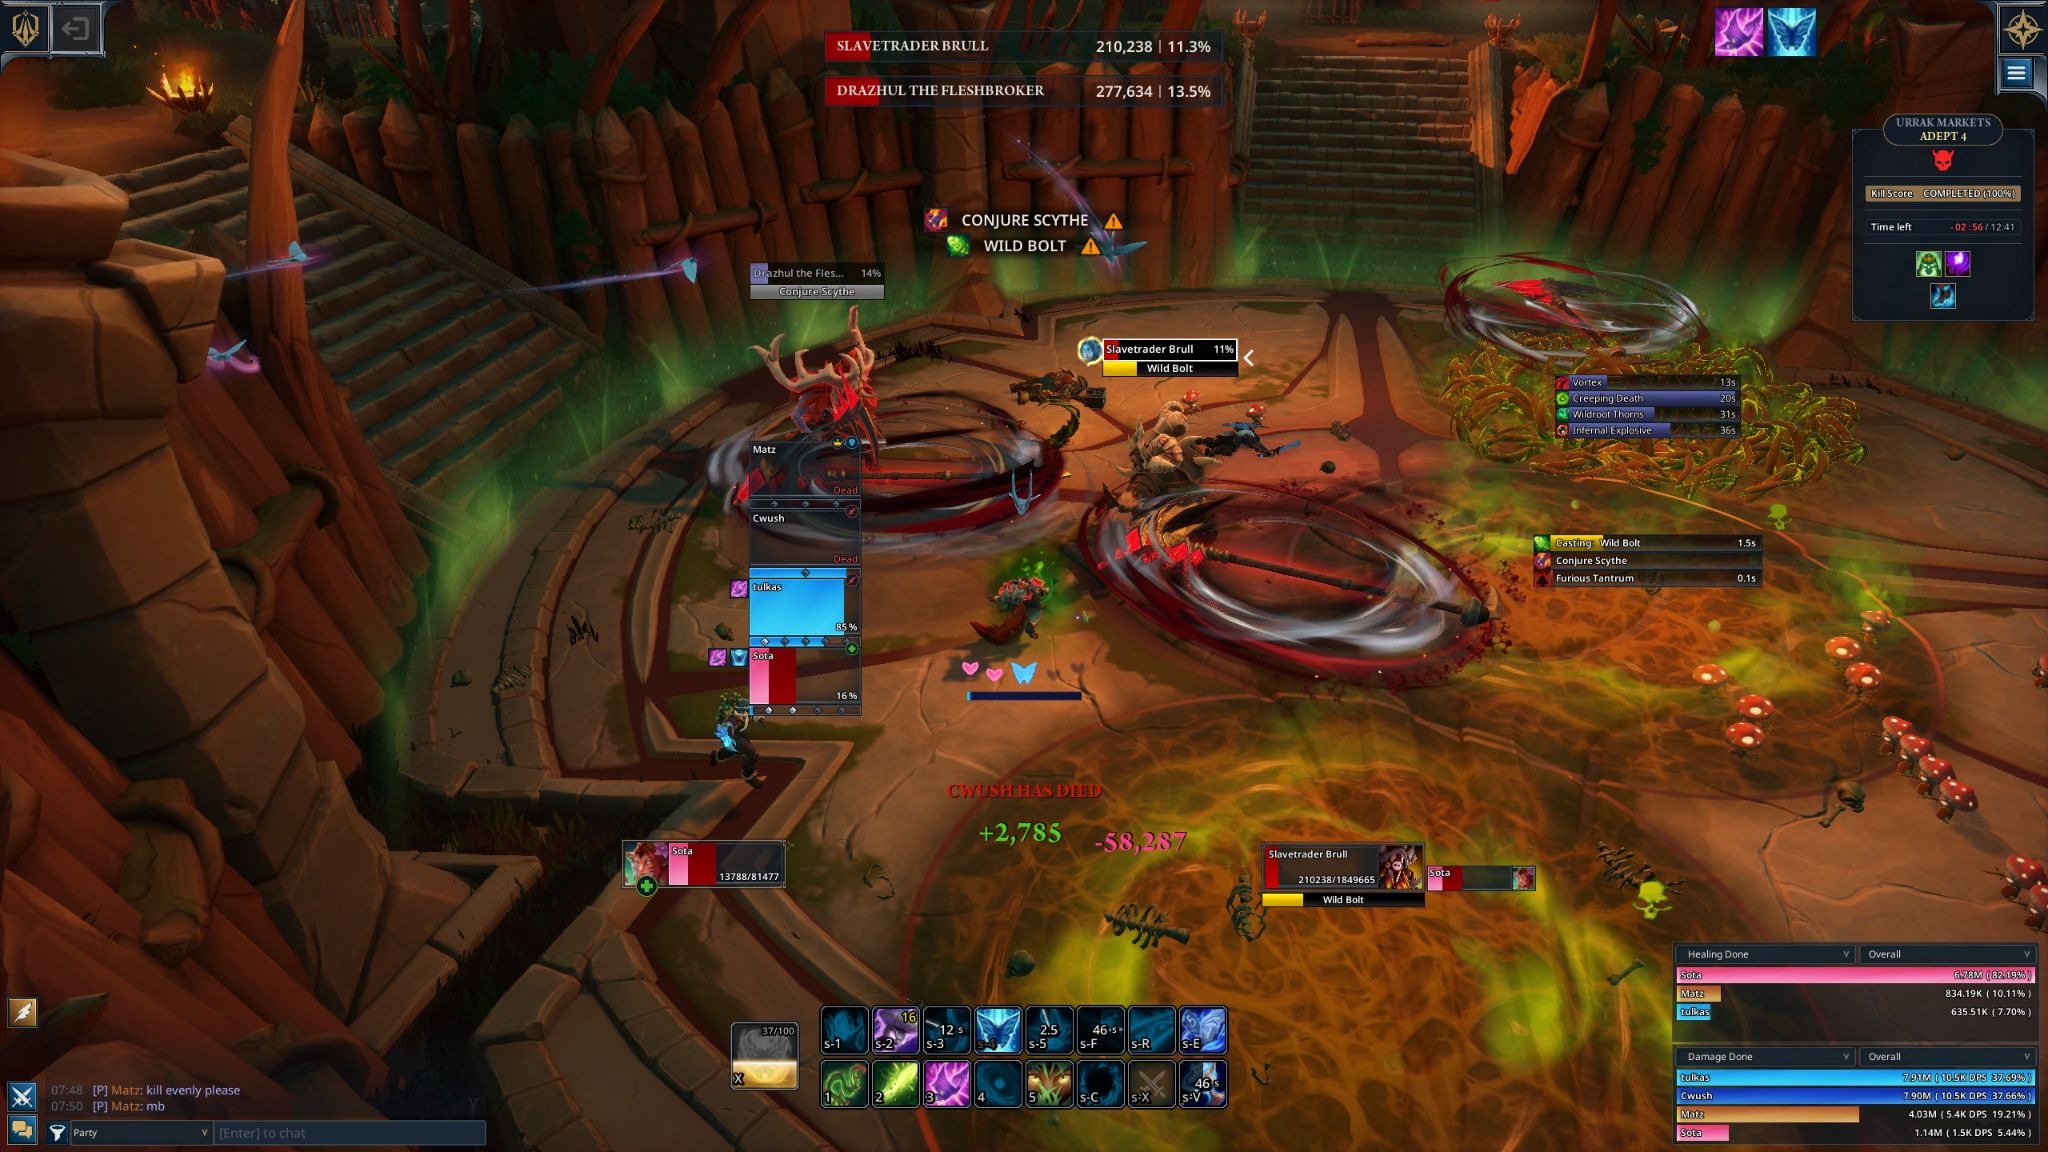
This is where runs live or die. It is a dual-boss encounter, and you fight both at the same time. This fight is 90% mechanics and 10% a DPS race.
The Core Mechanic: Keep Their Health Even!
This is the most important rule. You must damage both bosses at the same rate. The boss with higher health gets a stacking buff called “Enrage.” This buff gives them a 2% damage increase for every 1% health they have over the other boss.
Let me be clear. If you let Draul get 10% health ahead of Brule, Draul is now dealing 20% more damage. If he gets 20% ahead, he is dealing 40% more damage and will simply one-shot your tank. Your entire DPS squad needs to be disciplined. Call out target swaps, use cleave if you can, and keep their health bars locked together for the entire fight.
Boss Abilities Breakdown
You have two tanks, Draul and Brule, each with their own job.
Draul the Fleshroker (The Group Killer)
- Conjure Scythe: Draul targets a random player and throws a spinning scythe. This scythe does not disappear. It will bounce around the arena for the rest of the fight, applying a bleed to anyone it hits. The targeted player should aim this away from the group, ideally along the wall. As the fight goes on, you will have multiple scythes to dodge.
- Furious Tantrum: Just like the butcher trash mob, Draul will channel heavy, unavoidable group-wide damage. This is a major healing checkpoint. Rotate your group defensives and healing cooldowns here.
Slave Trader Brule (The Tank Killer and Mechanic-Setter)
- Wild Bolt: This is Brule’s spam-able tank hit. It has a fast 2-second cast. While a recent patch reduced its damage, it comes out fast. My group assigns an interrupt rotation to this to ease the pressure on our healer.
- Creeping Decay: This is the real tank buster. It is an uninterruptible cast (with a 3-second cast time, so you can see it coming) that hits the tank like a truck. The tank must use a personal defensive cooldown or mitigation for every single “Creeping Decay.”
- Wild Root Thorns: This is the most important ability in the fight. Brule will target a random player, who will see a large green circle around them. After a short delay, this drops a “Wild Root Thorns” puddle on the ground. This puddle damages and massively slows anyone standing in it.
Putting It All Together: The Vortex Dance
Here is the make-or-break combo. Periodically, Draul will run to the center of the arena and begin casting Vortex. This ability pulls all players toward him. If you get too close to Draul, you take lethal damage and die.
You cannot outrun this pull on your own. You will be dragged to your death.
The only way to survive is to use Brule’s Wild Root Thorns.
Here is the exact sequence your team needs to master:
- Brule targets a player with “Wild Root Thorns.”
- That player must immediately run and drop the puddle somewhere halfway between the center of the room and the outer wall. You want it to be accessible, but not in the middle and not so far out that it is useless.
- Draul will then run to the center and begin casting “Vortex.”
- As soon as the pull starts, your entire group must run and stack inside the “Wild Root Thorns” puddle.
- The puddle’s massive slow effect will counteract Draul’s pull, holding you safely in place.
- Healer Warning: Your entire group will be stacked and taking ticking damage from the thorns. This is the second major healing checkpoint. Be ready with your biggest healing cooldowns to keep everyone alive while they are in the puddle.
- Once “Vortex” ends, everyone moves out of the puddle and resumes the fight.
This table summarizes your main jobs for the entire encounter.
| Boss | Ability | Counterplay |
| Both | Enrage (Health %) | CRITICAL: Keep boss health even! |
| Draul | Conjure Scythe | Aim the throw away from the group. Dodge all bouncing scythes. |
| Draul | Furious Tantrum | Healer: Use healing cooldowns. Group: Use defensives. |
| Draul | Vortex (Lethal Pull) | (See Combo Below) |
| Brule | Wild Root Thorns | Targeted player drops puddle halfway between center and wall. |
| Brule | Wild Bolt | Interrupt this cast. It is a 2-second cast. |
| Brule | Creeping Decay | Tank must use a defensive cooldown. Uninterruptible. |
| COMBO | Vortex + Thorns | Entire group must stack inside the Thorns puddle to survive the pull. Heal through the puddle damage. |
Final Words
The Urrak Markets is a firewall. It is designed to test your fundamentals: Are you interrupting? Are you handling your personal mechanics? Are you communicating?
This fight is all about control. Control the trash, control the boss health, and control your position for the Vortex. If you can do that, you will walk away with the loot. If you try to just burn it, you will be repairing your gear.
This is my definitive strategy, and it has worked for every group I have run with. How is your team handling the Markets? Do you have a different interrupt priority or a faster route? Let me know in the comments below.
For more guides and deep dives on Fellowship and all your favorite games, be sure to check out our Gaming Insights category right here on Rivalsector. Now get in there and get those clears.