Hey everyone, Elias here, your main man for guides and reviews at rivalsector.com. I have been sinking a ton of time into the Fellowship early access, and while I am still grinding out hero guides and keeping an eye on Marvel Rivals, I had to pause and talk about the current king of Fellowship’s PvE content.
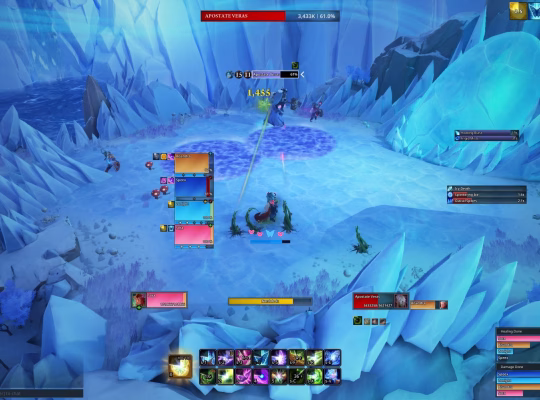
Today, we are diving deep into the capstone dungeon for the Contenders League: Cythrel’s Fall. Let me be clear, this instance is a massive difficulty spike. It’s the kind of content that will chew up and spit out uncoordinated teams. It’s still early, but if I were to make a “Fellowship dungeon tier list” right now, Cythrel’s Fall would be at the very top for its sheer mechanical complexity and the coordination it demands.
This instance introduces a new affix, three challenging bosses, and trash pulls that are mini-bosses in their own right. So, if you are stuck trying to get your first clear, this guide is for you. I have broken down every mechanic you need to know to survive the fall and claim your loot.
The Veay’s Legacy Affix: Trash Mobs Have Teeth
The first thing you must understand about Cythrel’s Fall is the new instance-wide affix: Veay’s Legacy. This mechanic empowers specific trash mobs, giving them a brand-new ability on top of their standard kit. This is a game-changer. You cannot just autopilot through the dungeon based on what you learned in previous instances. Some familiar enemies now have unfamiliar spells, and you must be ready to adapt.
Two mobs in particular get a dangerous upgrade:
- Deceitful Scholars: These casters are already a high-priority interrupt, but Veay’s Legacy gives them Volatile Orb. This spawns an orb near the player furthest away, which then fixates on them. This orb pulses damage and, if it reaches its target, explodes for massive group-wide damage. Your ranged DPS or healer needs to kite this orb while the team burns the Scholar down fast.
- Blades of Cithroil: You might remember these as the “spin to win” guys. Now, they also get Icebreaker, a leap attack that targets a random player and deals AoE damage on impact. The target can completely avoid this with a well-timed dash or blink, but you must be looking for the animation.
This affix system is a fantastic way to keep the trash pulls engaging, forcing your group to stay focused from start to finish.
Boss 1: Nor the Betrayer
After you fight through the initial humanoid-style mobs, you will reach your first major test. Nor the Betrayer is a fast-paced, single-phase encounter that is all about spatial awareness and dodging.
His signature ability is Coldblooded Twist. Nor leaps to the center of the room and splits the arena into ten triangular slices, alternating between safe zones and deadly ice zones. He fires icicles through the ice zones, then rotates the entire pattern counterclockwise and fires again.
This is the main mechanic of the fight. The first time he casts it, he rotates and fires three times. However, each subsequent cast of Coldblooded Twist adds another wave of rotations, up to a maximum of five. As the fight progresses, you will be dodging for longer and longer periods.
This is complicated by two other abilities. First is Razor Trap, which he throws at random players. Stepping in one of these roots you and applies a nasty damage-over-time (DoT) effect. Getting rooted during Coldblooded Twist is a guaranteed death. Do your best to bait these traps away from the center so your melee DPS can keep hitting the boss.
Second is Betrayer’s Arrow, a large circle that targets a random player. This player must quickly move away from the group before it explodes. This often overlaps with the cone-dodging, so you must be able to handle both mechanics at once.
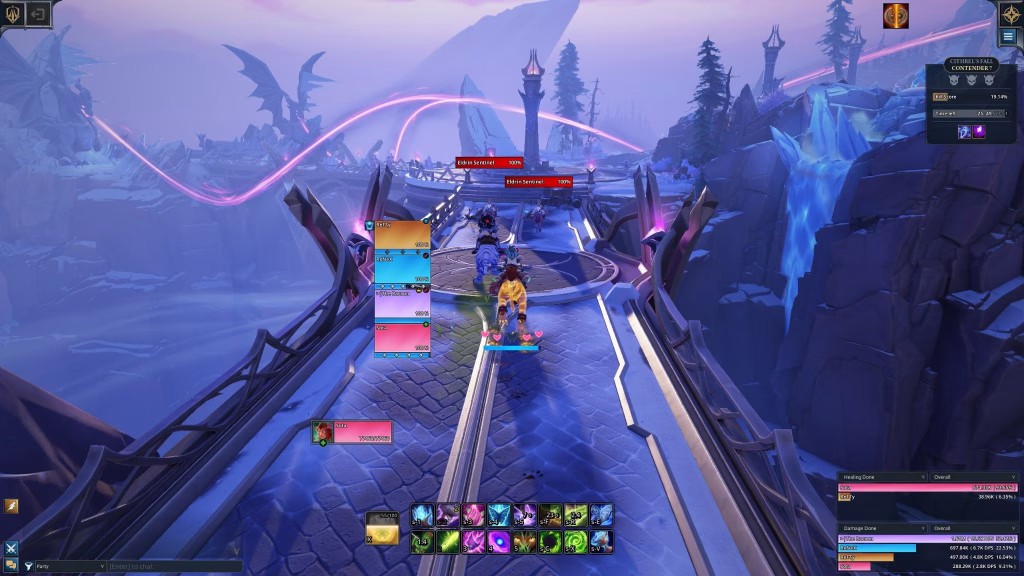
For healers, the big group-wide damage comes from Arcane Volley, a 6-second channel that applies a stacking magic DoT to everyone. This is the perfect time for group-healing cooldowns. Finally, the boss will summon a few ads, including an Eldren Sentinel. Your tank needs to grab these, and someone must interrupt the Sentinel’s Shattering Barrier cast, or you will have to burn through a massive absorb shield.
Boss 2: Ancient Choros
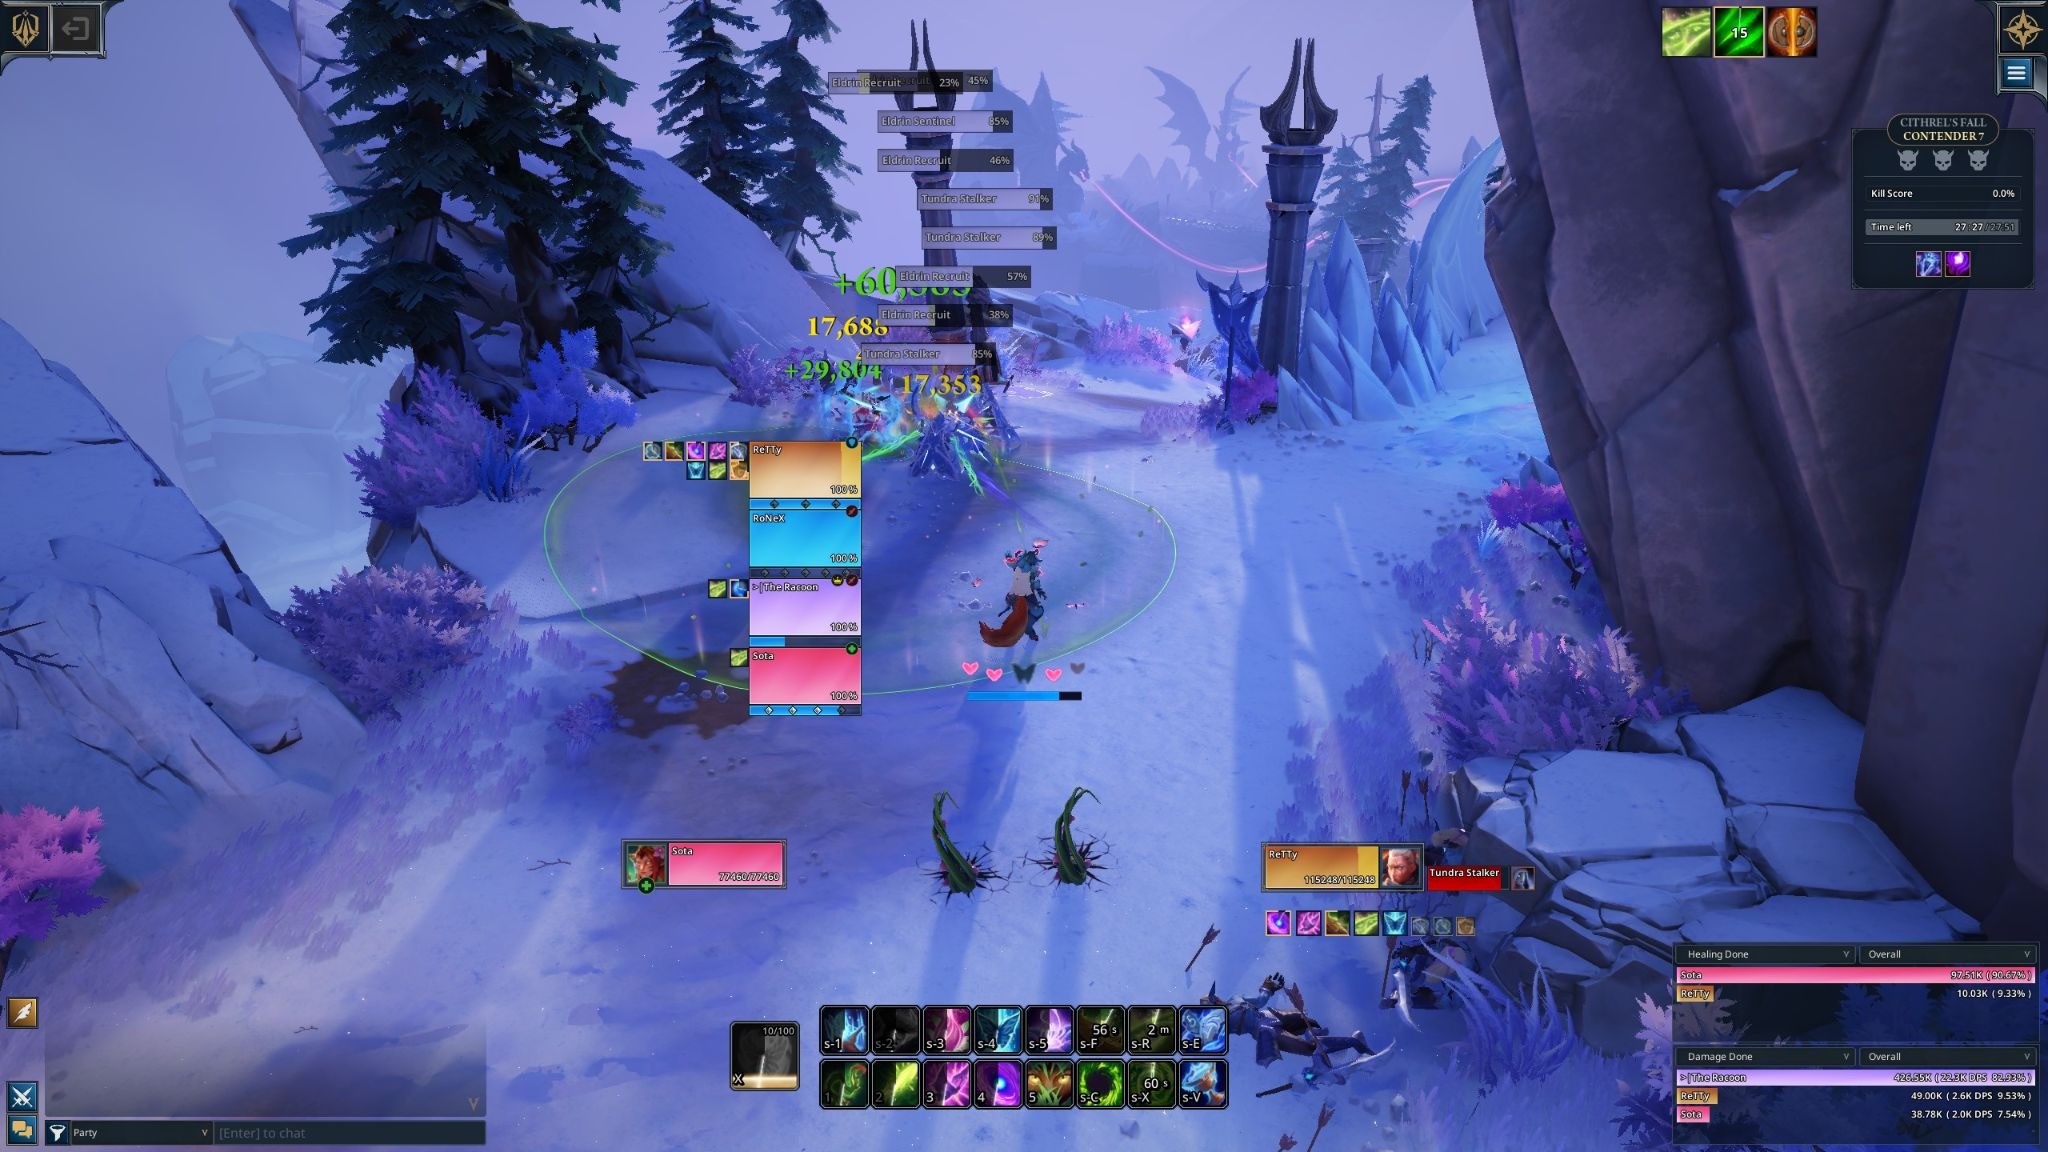
After defeating Nor, you will circle through the elemental-filled half of the dungeon to find Ancient Choros. This fight is a race against the clock, a soft enrage encounter where you must defeat the boss before the room’s ambient damage overwhelms your healer.
The main mechanic is Calamitus Fractures. A soak circle appears on the ground. One player must stand in it. If you miss the soak, a massive, deadly rift opens. The player who successfully soaks the hit gets a debuff and drops a new, smaller rift called a Calamity Rift at their feet. This new rift pulses light, unavoidable damage to the entire group for the rest of the encounter.
You see the problem. Every time this ability happens, a new permanent damage source is added to the room. The longer the fight goes, the more of these rifts there are, and the harder your healer has to work. You should have players drop these rifts near the edge of the room to keep the center clear. The soak also applies Calamitous Affliction, a debuff that doubles the damage from the next soak. This means you must have a rotation of at least two, preferably three, players to handle the soaks.
At the same time, the boss uses the Volatile Orb ability, just like the trash mobs. It spawns on the furthest player and fixates them. You must assign one ranged player to be the dedicated “orb kiter”. Their job is to stand at max range, bait the orbs, and kite them.
So, how do you deal with the orbs? The boss gives you the tool: Shatter Strike. This is a cone attack targeted at a random player. Any orbs hit by this cone are safely destroyed. The person targeted by Shatter Strike must quickly aim the cone to hit the orbs without hitting the kiting player. This is a brilliant piece of mechanic-busting synergy. It always happens after two orbs have spawned, so you can clear them in pairs. Healers must also be ready to dispel the Convergent Ice magic DoT that Shatter Strike applies to anyone it hits.
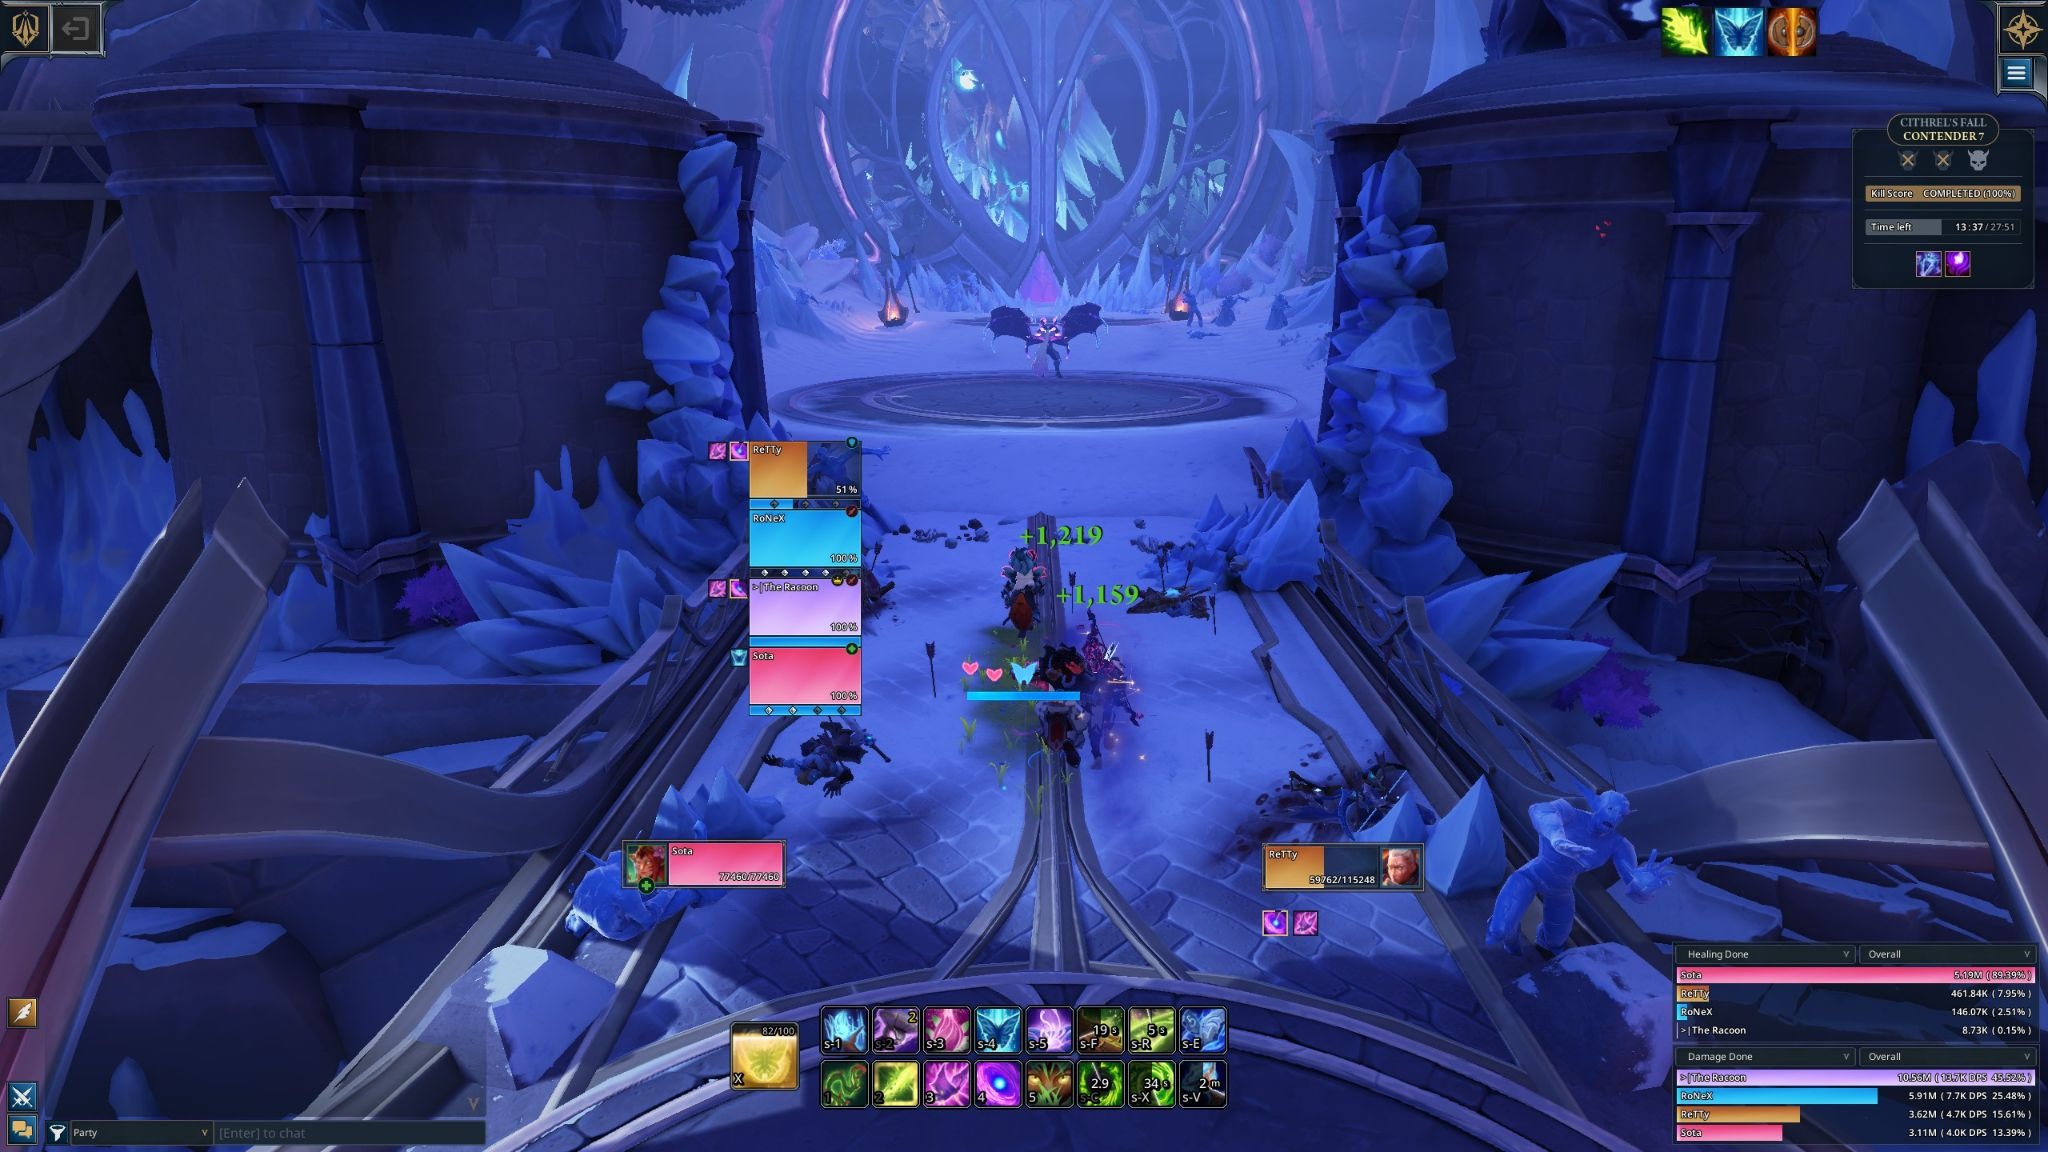
Final Boss: Cythrel
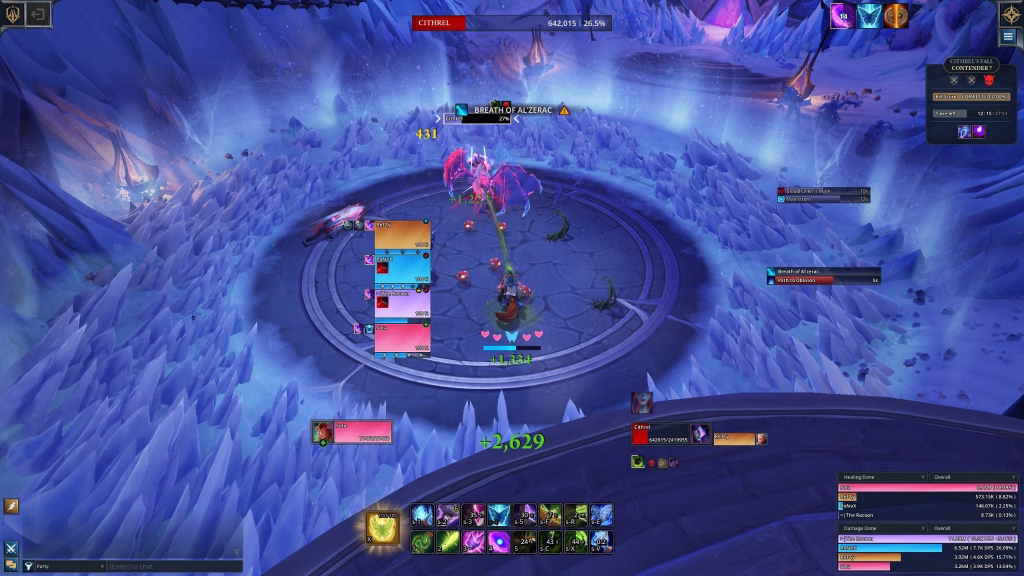
When Choros is defeated, you will fight your way up a final ramp to the boss of the instance. Cythrel is an epic and cinematic encounter that acts as a pure execution and throughput check. The fight gets progressively faster and the arena gets progressively smaller, creating a frantic burn phase.
Her primary ability is Path to Oblivion. A circle appears on a random player. The entire group must stack in this circle to split the damage from the initial hit. Immediately after, a second, larger explosion goes off in the same spot, which you must all move out of. This is a “stack-then-spread” mechanic.
But here is the kicker: Every time Path to Oblivion goes off, the arena’s outer edge closes in, permanently shrinking the play space. You have less and less room to maneuver as the fight goes on.
This shrinking arena makes her other mechanics much deadlier. Blood Hunter’s Mark targets two random players. Cythrel will then dash between them, dealing AoE damage and applying a bleed to anyone hit. The marked players must spread out. This is complicated by Maelstrom, an ability she often uses right after marking players, which grips your entire group to her location. The correct response is for the unmarked players to stay on the boss, while the two marked players use their movement abilities to dash to the left and right, minimizing cleave damage.
Tanks, your main job is to watch for Breath of Alzer. This is a huge frontal cone attack. You must have a defensive cooldown ready for it, and you must never point it at your group.
At 50% health, Cythrel enrages with Draconic Frenzy. All her abilities start happening much faster. This is the burn phase. I highly recommend saving offensive cooldowns, healing cooldowns, and group defensives for this 50% push. It is a race to kill her before the shrinking arena and rapid-fire mechanics wipe your group.
Key Trash & Recommended Route
While the bosses are the main event, the trash mobs in Cythrel’s Fall will kill you just as easily. Here is a quick-hit list of the most dangerous non-boss enemies.
- Tundra Stalkers: Channels Rapid Fire in a frontal cone.r Tanks must point this away from the group.
- Deceitful Scholars: Your number one interrupt. Stop Rune of Detonation at all costs. Ranged players must kite the Volatile Orb.
- Eldren Sentinels: Interrupt Shattering Barrier. If this cast goes off, your team must hard-swap and break the shield, or you will take pulsing group damage.
- Corruptors: These are healer-checks. They apply Freezing Blood, a magic DoT that deals lethal damage if it expires. This is a high-priority dispel. Also, interrupt their Drain Life channel.
- Ice Shardlings: These explode on death, applying a stacking magic DoT. Do not kill them all at once. Stagger their deaths.
To tie it all together, here is a boss mechanic cheat sheet and the recommended route from the Method guide.
Boss Mechanic Cheat Sheet
| Boss | Key Mechanic | What You Must Do |
| Nor the Betrayer | Coldblooded Twist | Dodge the rotating ice cones. Avoid Razor Traps. |
| Ancient Choros | Calamitus Fractures | Rotate players to soak the circle. Drop the debuff rift at the edge. |
| Ancient Choros | Volatile Orb / Shatter Strike | One player kites orbs. A random player aims Shatter Strike to destroy them. |
| Cythrel | Path to Oblivion | Stack for the first hit, then move out for the second. Arena shrinks. |
| Cythrel | Blood Hunter’s Mark / Maelstrom | Marked players must spread out, even after the group-pull. |
For the route, my recommendation is to start by heading left, clearing the humanoid packs toward Nor the Betrayer. Once he is down, you will continue along the path, which circles back toward the elemental side. From there, you will clear the packs leading to Ancient Choros. After he is defeated, you backtrack just a bit and take the main ramp up to Cythrel, hugging the left side to skip a final, tricky pack before the boss room.
Your Victory Awaits
Cythrel’s Fall is a fantastic dungeon. It’s a true test of your five-player team, demanding personal accountability, good communication, and solid execution from everyone. This is exactly the kind of challenging and rewarding content I want to see from Fellowship’s endgame.
I hope this guide helps you and your group finally conquer this instance. What has your experience been in Cythrel’s Fall? Do you have any other strategies that have worked for your team? Let me know in the comments section below.I will be back with more Fellowship content, hardware reviews, and of course, all the Marvel Rivals news you can handle. For more in-depth articles like this one, be sure to check out our Gaming Insights category right here on rivalsector.com.