Hey Raiders, Elias here from Rivalsector.com. In my last guide, I covered the “why” of crafting- how to stay alive in a firefight with in-raid essentials. Today, we’re diving deep. We’re going past survival and into dominance. We’re talking about your Hideout, your Workbench, and the high-tier recipes that turn you from a rat into a juggernaut.
Your Hideout is your armory, your hospital, and your R&D lab all in one. Every piece of scrap, every circuit board, and every ARC Shard you risk your life for gets funneled back here. Mastering your workbenches is the true endgame of ARC Raiders. It’s how you build the god-rolled weapon that melts bosses and the armor setup that lets you tank a sniper shot.
I’ve spent countless hours and a mountain of materials testing every upgrade path. This is the complete breakdown of every workbench, every upgrade, and the must-have recipes you need to unlock.
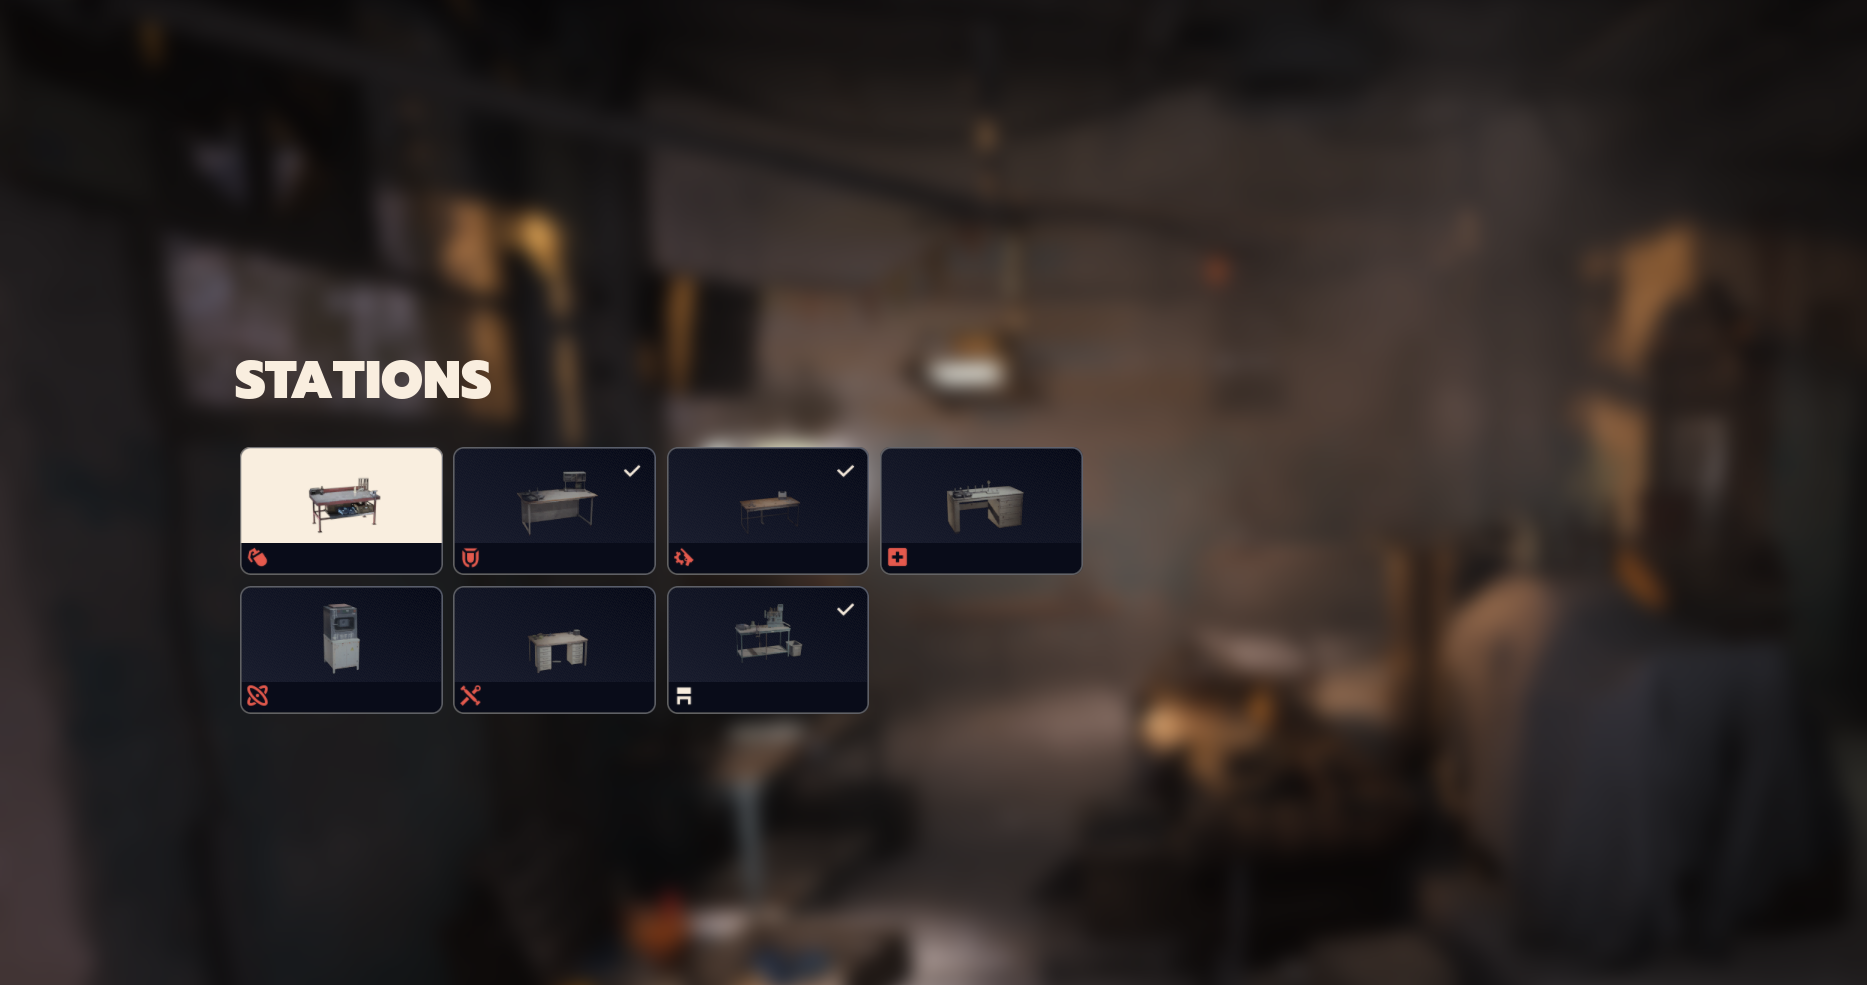
The Backbone: Your Hideout Workbench Upgrades
First, let’s talk progression. Your Hideout has seven distinct crafting stations. You can’t just craft a top-tier item from day one. You must invest in your stations, upgrading them level by level. Each upgrade costs a specific set of materials and unlocks a new tier of blueprints.
This is my priority list for upgrading. Focus on your Gunsmith and Med Station first.
| Workbench | Level 1 Cost | Level 2 Cost | Level 3 Cost |
| Gunsmith | 20 Metal Parts, 30 Rubber Parts | 3 Rusted Tools, 5 Mechanical Components, 8 Wasp Driver | 5 Rusted Gears, 3 Advanced Mechanical Components |
| Medical Lab | 50 Fabric, 6 ARC Alloy | 2 Cracked Bioscanner, 5 Durable Cloth, 8 Tick Pod | 5 Rusted Shut Medical Kits, 10 Antiseptic, 3 Bastion Parts |
| Gear Bench | 25 Plastic Parts, 30 Fabric | 3 Power Cables, 5 Electrical Components, 5 Hornet Driver | 5 Industrial Batteries, 3 Advanced Electrical Components, 3 Rollbot Parts |
| Utility Bench | 50 Plastic Parts, 6 ARC Alloy | 2 Damaged Heat Sink, 5 Electrical Components, 6 Snitch Scanner | 5 Fried Motherboards, 3 Advanced Electrical Components, 3 Bison Drivers |
| Explosives Station | 6 ARC Alloy, 50 Chemicals | 3 Synthesized Fuel, 5 Crude Explosives, 5 Pop Trigger | 5 Laboratory Reagents, 10 Explosive Mixture |
| Refiner | 60 Metal Parts, 3 ARC Powercell | 3 Toaster, 5 ARC Motion Core, 8 Fireball Burners | 5 Motors, 20 ARC Motion Cores, 1 Queen Reactor |
Pro-Tip: The Refiner is your long-term investment. It lets you craft rare components (like Mechanical Components) from common ones (like Metal Parts). Get this up and running as soon as you can to feed your other, more expensive upgrades.
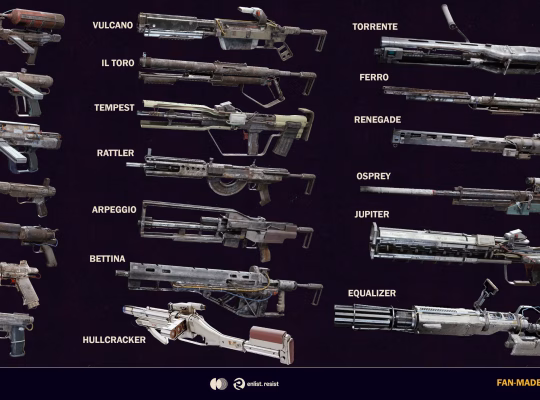
Gunsmith’s Paradise: Recipes
This is where the magic happens. The Gunsmith crafts base weapons, but more importantly, it crafts the attachments that define your build. A stock rifle is a tool, but a fully-kitted rifle is a statement.
Most high-tier attachments are unlocked by finding their Blueprints out in X-Isle. Here are the must-have recipes I prioritize.
Must-Have Weapon Attachment Crafts (Tiers I-III)
- Silencers: The most valuable attachments, period. They keep you off the radar of both AI and other players. The “Silencer I” (1 Mechanical Component, 1 Wires) is an immediate craft for me. Upgrading to the “Silencer III” (3 Mod Components, 15 Wires) makes you a true ghost.
- Optics: This is personal preference, but I swear by the “Stalker 1-4x Optic.” It’s the perfect all-rounder. Basic holo sights are cheap (Plastic Parts, Duct Tape) and always worth the cost.
- Vertical Grips: Tames that vertical kick. The “Vertical Grip I” (6 Plastic Parts, 1 Duct Tape) is a cheap and massive upgrade for any full-auto weapon. The “Vertical Grip III” (1 Mod Components, 6 Duct Tape) makes high-recoil guns feel like laser pointers.
- Extended Magazines: Less reloading means more shooting. The “Extended Medium Mag I” (6 Plastic Parts, 1 Steel Spring) adds 4-5 rounds to most ARs and is a lifesaver. The Tier III versions are game-changers, especially for SMGs.
The entire ARC Raiders systems of combat and progression feed back to this bench. Your goal on every run should be to find a material or blueprint that lets you add one more piece to your masterpiece.
Staying Alive: Medical Lab and Gear Bench Recipes
You can have the best gun in the game, but it won’t matter if you bleed out in a corner. Your Med Station (for health) and Gear Bench (for armor) are what make you durable.
Medical Lab: Your Personal Clinic
This bench is for crafting high-end consumables. Stop going into raids with nothing but basic bandages.
| Item | Med Station Level | Required Materials (Example) | What It Does |
| Bandage | Level 1 | 5 Fabric | Basic heal over time. Your bread and butter. |
| Shield Recharger | Level 1 | 5 Rubber Parts, 1 ARC Powercell | Recharges 4 shield points per second. Essential. |
| Herbal Bandage | Level 2 | 1 Durable Cloth, 1 Great Mullein | A faster, stronger heal over time. |
| Defibrillator | Level 2 | 3 Plastic Parts, 1 Moss | Lets you revive a downed teammate. A must-have for squad play. |
| Surge Shield Recharger | Level 2 | 1 Electrical Component, 1 Advanced ARC Powercell | Instantly restores 50 shield points. Your panic button. |
| Vita Shot | Level 3 | 1 Antiseptic, 1 Syringe | The king of heals. Instantly restores 50 HP. |
Gear Bench: Armor and Augments
This is your armor station. It crafts “Shields,” which are the armor plates that give you that precious blue health bar. It also crafts “Augments,” the specialized rigs you need to wear the heavier shields.
- Light Shield: (2 ARC Alloy, 4 Plastic Parts). Your basic starter shield. Requires no special Augment.
- Medium Shield: (1 ARC Circuitry, 4 Battery). A massive step up in protection. Requires a Raider Augment II (or better) to equip.
- Heavy Shield: (1 Power Rod, 2 Voltage Converter ). The Juggernaut. This thing tanks multiple shots but makes you slower. Requires a Raider Augment III.
Your progression path is clear: Craft a Level 2 Augment, then craft a Medium Shield. This is a huge survivability spike.
The “Tools of the Trade”: Utility and Explosives Stations
These benches craft the tactical gear that wins fights before they even start.
Utility Bench: The Gadget Lab
This is my personal favorite bench. It crafts the tools that allow for real creativity and movement.
- Zipline (Level 1): (1 Rope, 1 Mechanical Components). Creates a 50m zipline. Perfect for creating escape routes or reaching sniper nests.
- Barricade Kit (Level 2): (5 Metal Parts, 1 Steel Spring). A deployable piece of cover. Invaluable for locking down a building or reviving a teammate in the open.
- Snap Hook (Level 3): (4 Advanced Electrical Components, 4 Rope). The Spiderman tool. A 20m grappling hook that lets you scale buildings and reposition instantly. This is a top-tier item.
- Photoelectric Cloak (Level 3): (2 Advanced Mechanical Components, 4 Speaker Components). Makes you invisible to ARC AI. A must-have for stealthy solo runs or farming bosses.
Explosives Bench: Making Things Go Boom
This bench crafts grenades, mines, and other throwables. While in-raid “Scrap Grenades” are fine, these are specialized tools. You will need to find blueprints for almost all of these.
- Gas Grenade (Level 1): (Requires Chemicals, Rubber Parts). Creates a damage-over-time cloud to flush enemies from cover.
- Hornet Driver (Blueprint): A throwable that stuns ARC robots for a full 10 seconds. This is how you kill the big ones.
- Jolt Mine (Blueprint): A craftable proximity mine that stuns both ARC and enemy Raiders. Lock down your flank or set a trap at an extraction point.
- Bison Driver (Blueprint): Your high-damage frag grenade. Deals massive area damage.
Your Crafting Journey Starts Now
I know this is a lot of data. But this is the core of ARC Raiders. This is the loop. You drop, you hunt for specific materials (like Fried Motherboards or Antiseptic), you extract, and you invest in a permanent upgrade.
Don’t be overwhelmed. Pick one goal. “Today, I am going to get the materials for my Med Station Level 2.” Focus on that. Before you know it, you’ll have a Hideout that can churn out any build you can dream of.
The best loadouts aren’t found, they are built.
What’s the first Level 3 item you’re going to craft? Let me know. For more deep dives, guides, and reviews, be sure to check out our Gaming Insights category right here on Rivalsector.com.
Good hunting, Raiders.