What’s up, Raiders? Elias here from Rivalsector.com. I’ve been living in the concrete jungle of Buried City since the second it dropped. I’ve run zero-to-hero pistol kits, lost full Chad loadouts to rooftop rats, and filled my stash to the breaking point with trinkets and blueprints. After dozens, maybe hundreds, of raids, I’ve drilled down to the absolute best, most “broken” Points of Interest (POIs) this vertical nightmare has to offer.
Buried City is not like other maps. It’s a dense, multi-level urban hellscape where a long-range scope, a CQC shotgun, and a Zipline are your best friends. The loot is hyper-condensed in some areas and spread thin in others. It’s high-risk, high-reward, and you can’t just run in blind. You need a plan.
This is that plan. I’m counting down my top 10 loot locations on Buried City. These are the rooms, buildings, and secret spots that will make you rich, fund your kits, and give you a massive advantage. Let’s get into it.
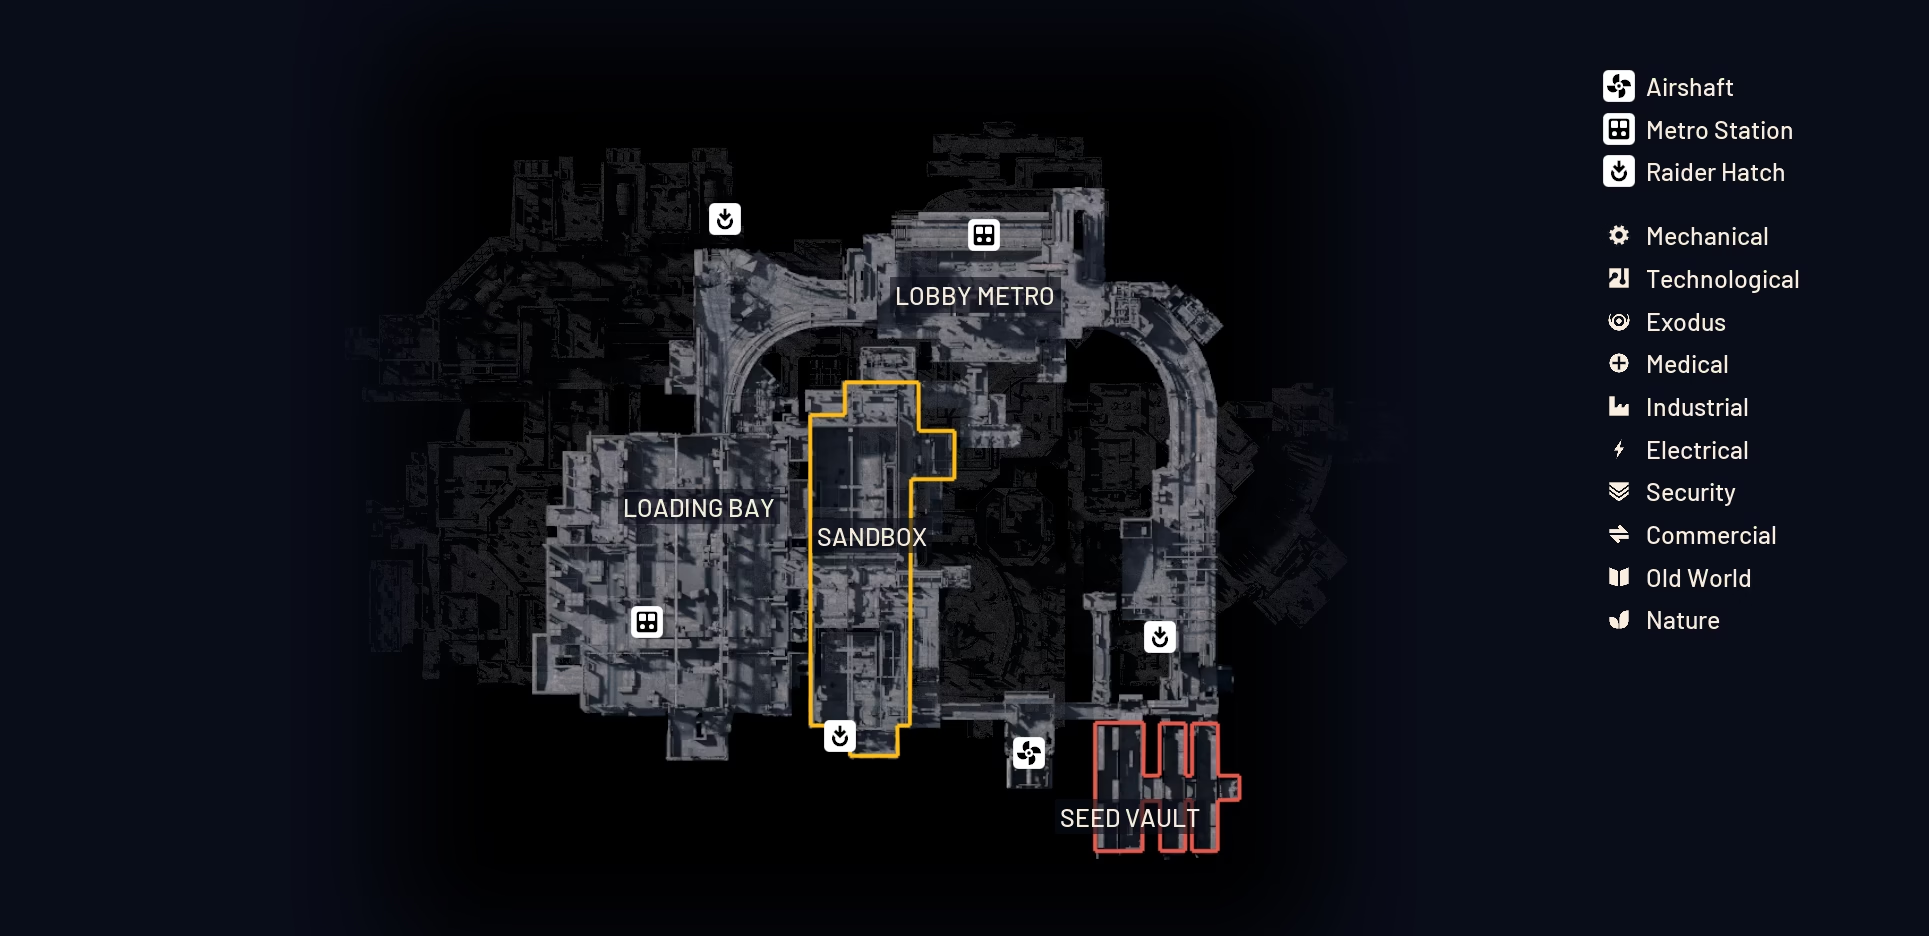
My Quick-Look Tier List for Buried City
Here is a simple breakdown for you to reference. Use this to plan your drops and prioritize your routes.
| Tier | Location | Best For (Primary Loot) |
| S | Space Travel Tower | Trinkets, Tech, Blueprints |
| S | Plaza Rosa | Cash (Trinkets), PvP |
| A | Parking Garage (Basement) | Weapon Crate, Military Loot |
| A | Hospital | Medical Supplies |
| A | Santa Maria Houses | Cash (Trinkets), Beginner Runs |
| B | Galleria Soldanella | Zero-Risk Cash (Plant Farm) |
| B | Train Depot (Breach Room) | Weapon Crate (Blueprint Farm) |
| B | Red Tower | Good Starter Loot, Scopes |
| C | Church Tower (Zipline Stash) | Bag Upgrade, Secret Loot |
| C | Northern Bus Crate | Weapon Crate (Blueprint Farm) |
The Buried City Top 10 Countdown
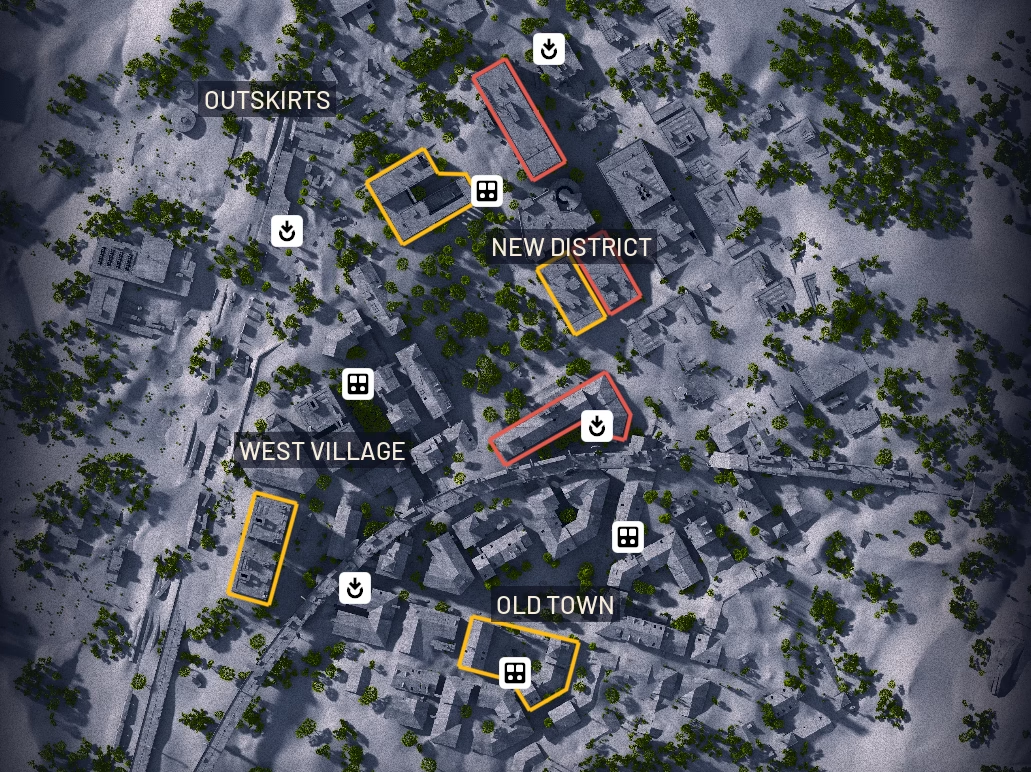
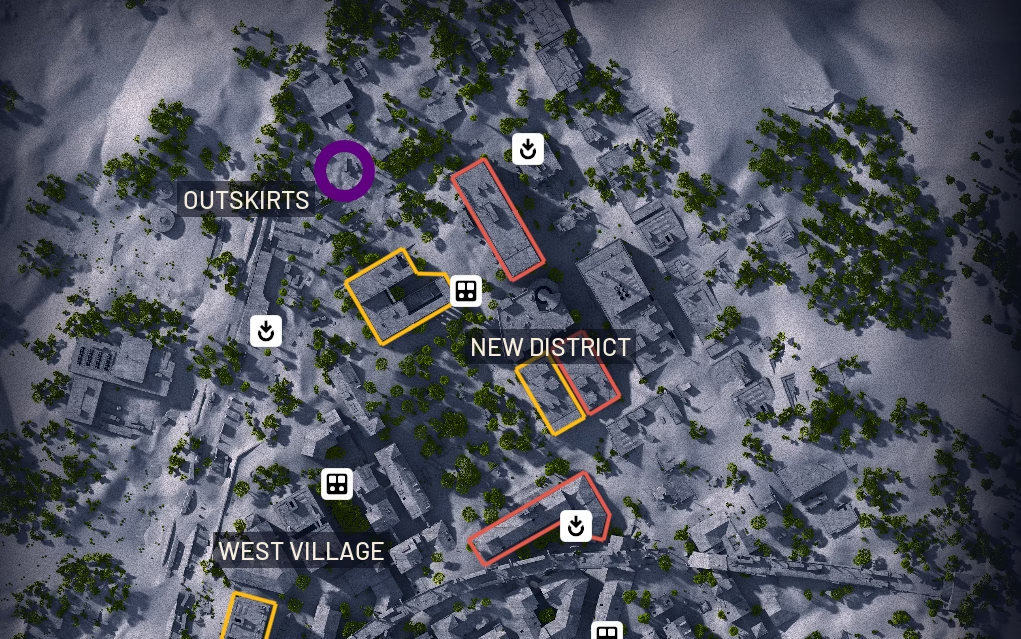
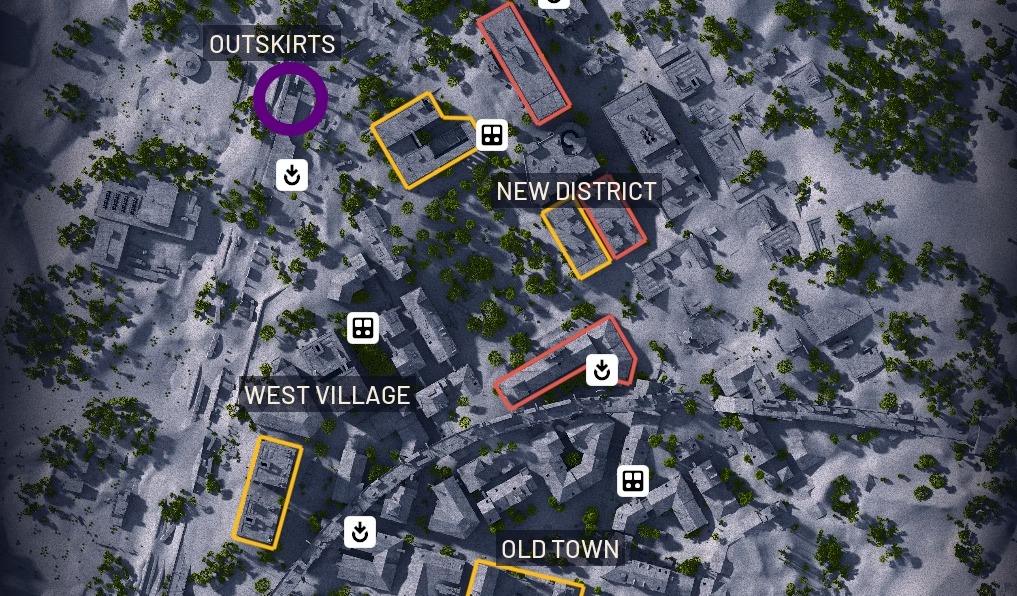
#10. Church Tower (Zipline Stash)
- Location: North, Church Ruins
- Why It’s Great: This is a fantastic “sleeper” spot that 90% of players run right past. The ruined church tower in the north spawn zone looks inaccessible, but it’s not. You need to pop a Zipline up to one of the top windows. Inside, you’ll find a secret room that almost always has a high-tier bag (Military, Medical) and some loose loot. It’s a perfect way to start your run with a bag upgrade, but it requires you to spawn with a Zipline.
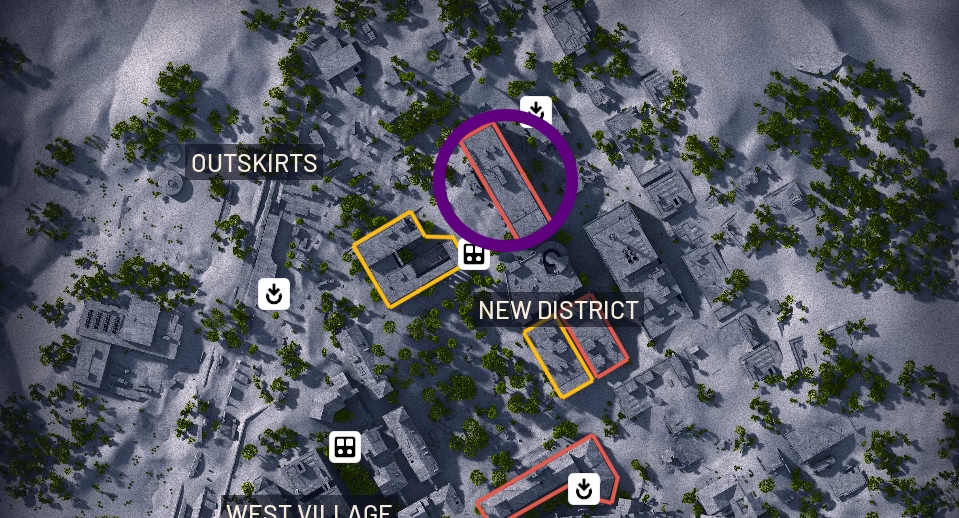
#9. Northern Bus Crate
- Location: Far North, near Train Depot
- Why It’s Great: This spot is all about speed and efficiency. In the far north, there’s a wrecked bus that has a decent chance (I’d say about 50/50) of spawning a weapon case. This is part of my “speedrun” route. You can spawn in, check this bus, then immediately move to the #7 spot on our list. It’s a simple, low-risk way to farm for weapon blueprints right at the start of a raid.
#8. Red Tower (Lookout)
- Location: North-Central, near Church
- Why It’s Great: This tall, red-accented building is an amazing secondary loot spot and a powerful sniper’s nest. You can parkour your way up the side and inside. The building itself has several floors with drawers, and the outer roof has more loot and a potential weapon crate. It used to be famous for its Security Breach Locker, but since the big nerf to those, the real value is in the crate and drawers.
#7. Train Depot (Breach Room)
- Location: Far North
- Why It’s Great: This is the second part of the “speedrun” route. This small train depot building has a locked, breachable door. Get inside, and you’re treated to a room with a very high spawn chance for a full weapon case, plus some breachable containers. My success rate for finding a case here is probably around 75%. You can hit the Bus Crate (#9) and this room, then be at the northern extract in under eight minutes with two potential blueprint spawns.
#6. Galleria Soldanella (The “Rat Run”)
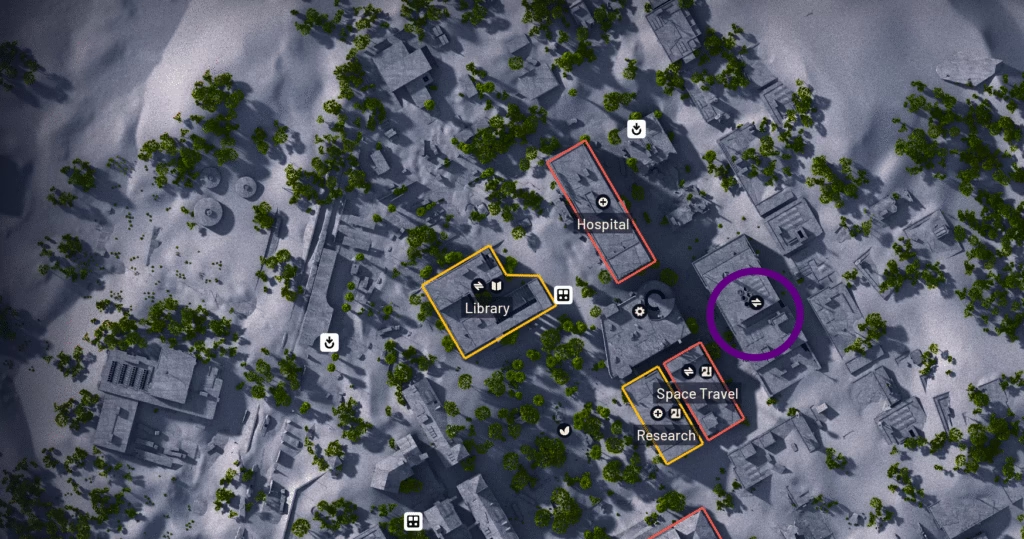
- Location: Central, next to Space Travel
- Why It’s Great: This is my new favorite “zero risk” money run. Look for the building next to Space Travel with the “GALLERIA SOLDANELLA” sign. The top floor of this building is an indoor garden, absolutely filled with Great Mullein plants. You can spend five minutes here, harvest every plant, and walk out with a bag full of valuable plants to sell, all while the chads are fighting in Space Travel. It’s the definition of looting smart, not hard.
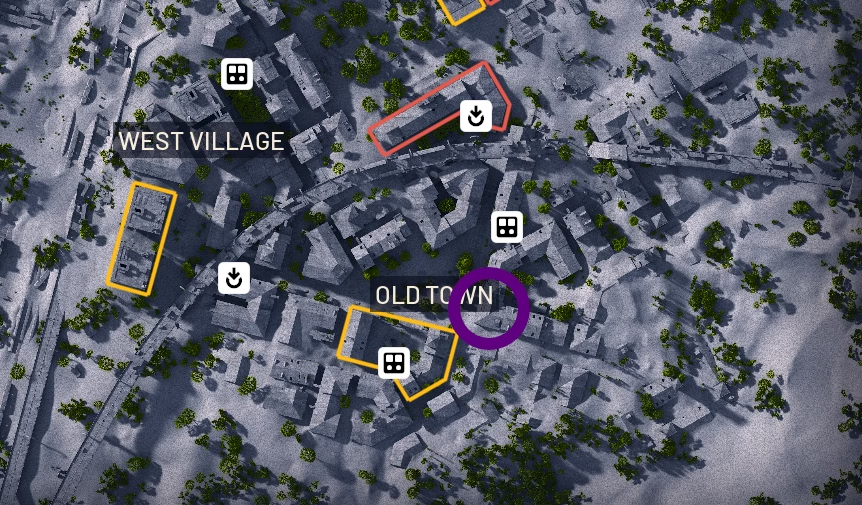
#5. Santa Maria “Stash House”
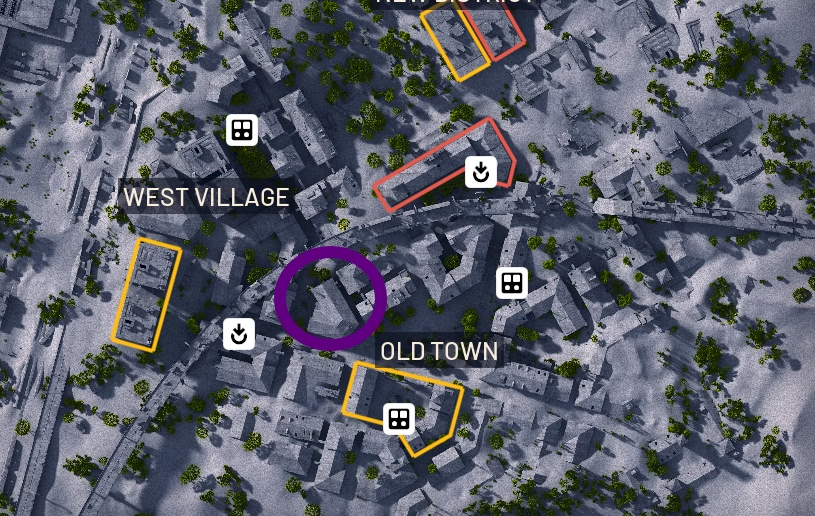
- Location: West, Santa Maria Houses
- Why It’s Great: This spot is for pure, raw value. The cluster of houses in the Santa Maria district is often overlooked but is a favorite “underrated” spot. They are full of residential loot, meaning tons of trinkets from drawers and cabinets perfect for selling or for Scrappy’s quests (Cat Beds, Pillows, etc.). One of the houses, in particular, has a ground-floor room that can spawn a weapon crate.
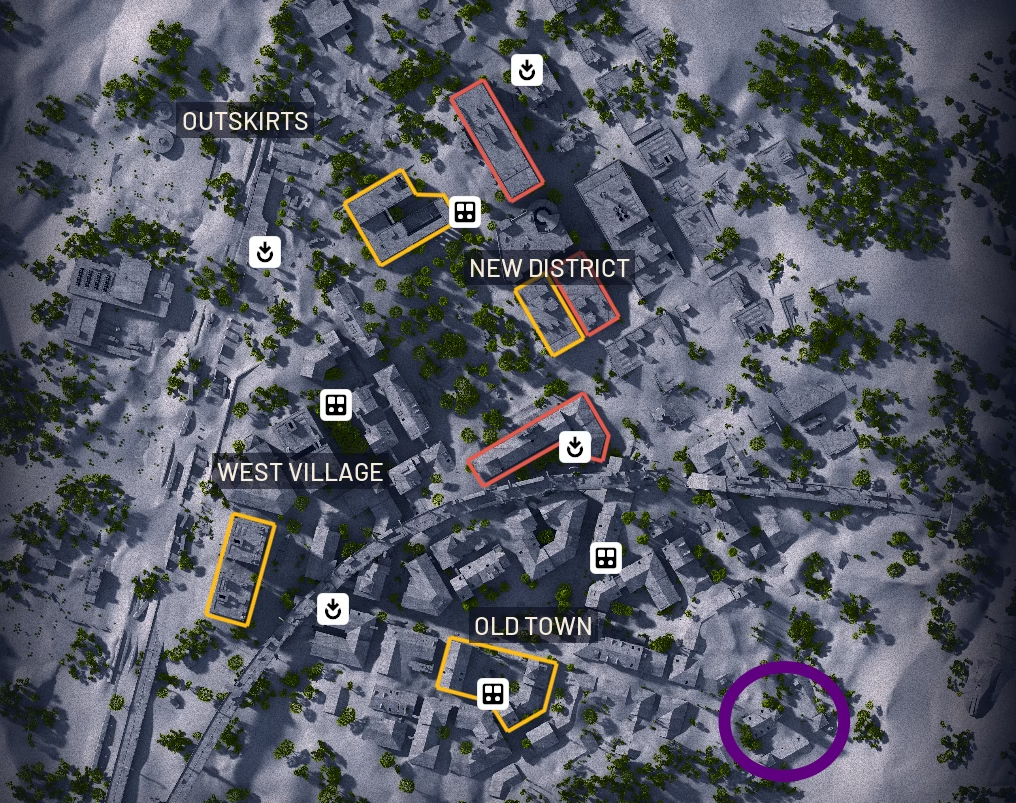
#4. Hospital (Med Run)
- Location: Central, near Space Travel
- Why It’s Great: This is your one-stop shop for all things medical. The Hospital is, unsurprisingly, a “High-Value” area loaded with medical bags, containers, and loose med spawns. If you’re running low on healing items, one quick pass through here will set you up for five more raids. It’s also a high-traffic area because it has an internal extract. A pro-tip? The roof has a Security Breach Locker that requires a Zipline to access.
#3. Parking Garage (Basement)
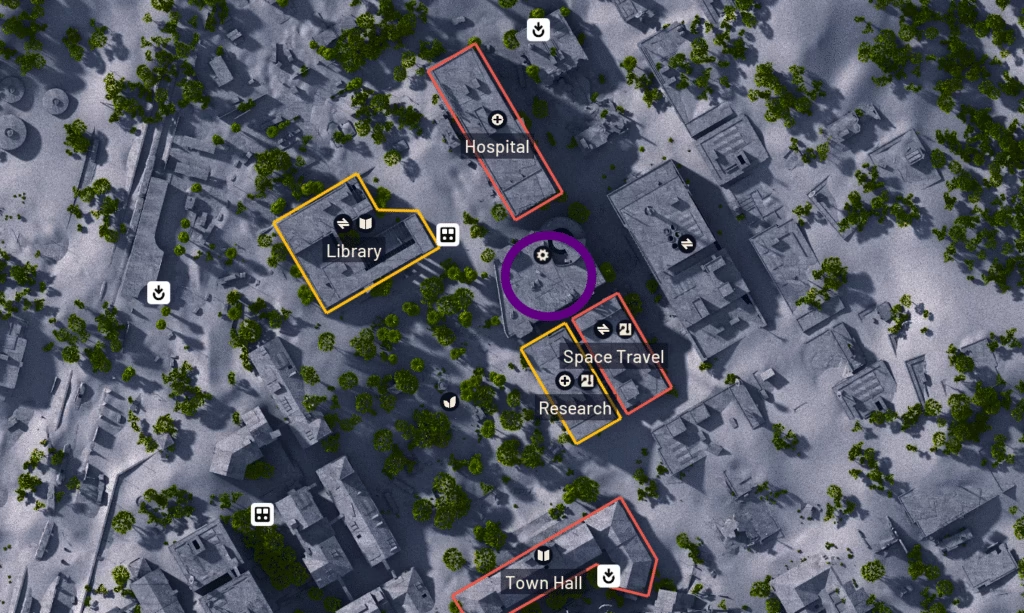
- Location: Central, next to Space Travel
- Why It’s Great: Never judge a book by its cover. The upper levels of the Parking Garage are mostly empty, but the basement is a certified goldmine. This is another “underrated” gem. Breach the door on the Hospital side and take the zipline down. The basement is a raider camp full of breachable containers, a guaranteed military bag spawn, and one of the most reliable weapon crate spawns on the entire map. I hit this room every single time I loot the Space Travel tower.
#2. Plaza Rosa “Money Rooms”
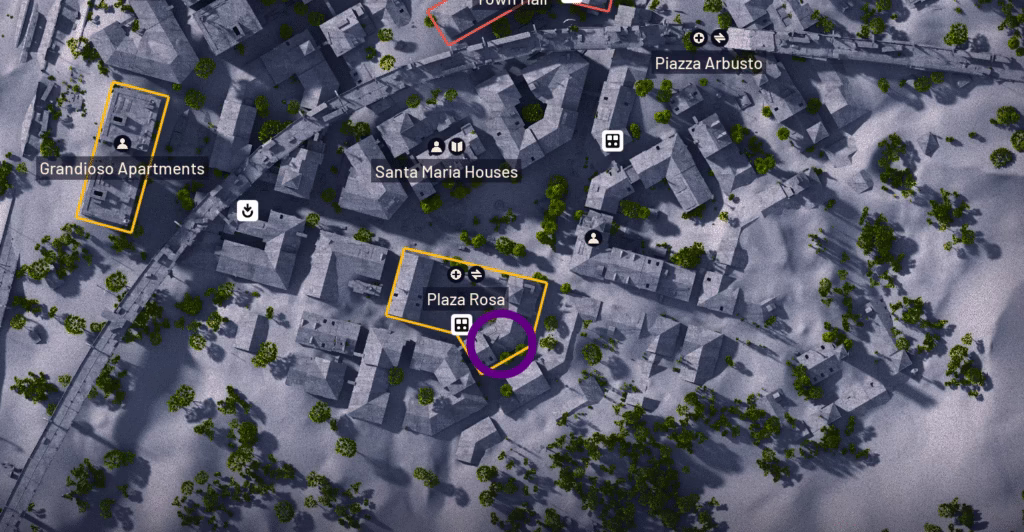
- Location: Southeast, Plaza Rosa
- Why It’s Great: Welcome to the bloodbath. This is arguably the most dangerous PvP hotspot on the map, but the loot is insane. It’s listed as “medium value,” but it’s packed with residential loot, making it a goldmine for trinkets and Scrappy items. The real prize is the breachable “money rooms” in the apartment buildings flanking the plaza. You can make 100k+ in two minutes. This is a high-risk, high-reward run that’s especially profitable during Night Raids.
#1. Space Travel Tower
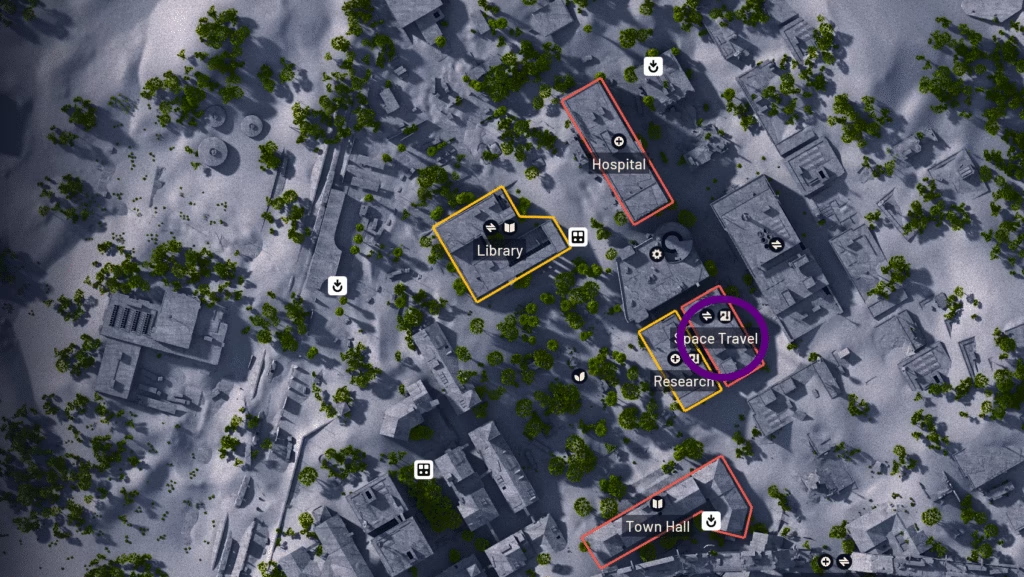
- Location: Center-West
- Why It’s Great: This is it. The single most “broken” POI in Buried City. This massive, “High-Value” tower is an infinite trinket farm. We’re talking hundreds of drawers, lockers, and containers, making it a hotspot for tech resources. This is where your Looting MK2 bag pays for itself.
My route is simple: start at the bottom, hit the locker rooms, then work your way up, floor by floor, opening everything. The 6th floor is the jackpot, a loot-dense area that can fill your inventory on its own. It is, hands down, the best loot location on the map.
Buried City: Risk vs. Reward
This map is all about smart choices. Here’s a quick table of my top 10 to help you decide where to go.
| POI (My Rank) | Primary Loot | Risk Factor | Why It’s Worth It |
| #1 Space Travel Tower | Trinkets, Tech, Keys | EXTREME | The single most value-dense POI. |
| #2 Plaza Rosa | Commercial (Cash), PvP | EXTREME | Fastest way to 100k, if you survive. |
| #3 Parking Garage | Weapon Crate, Military | HIGH | The perfect “dessert” after Space Travel. |
| #4 Hospital | Medical, Extract | HIGH | Best med farm with a built-in exit. |
| #5 Santa Maria | Commercial (Cash) | LOW | Easy, safe loot to fill your bags. |
| #6 Galleria Soldanella | Cash (Plant Farm) | LOW | A “zero-risk” money run. |
| #7 Train Depot | Weapon Crate | LOW-MEDIUM | A key part of the “blueprint speedrun.” |
| #8 Red Tower | General Loot, Scopes | LOW | Great early-game loot and a sniper nest. |
| #9 Northern Bus Crate | Weapon Crate | LOW | Easiest blueprint spawn to check. |
| #10 Church Tower | Bag Upgrade | LOW | A secret Zipline spot for a free bag. |
My Final Pro-Tips for Buried City
After all my runs, this is what I’ve learned. These tips will keep you alive.
- BRING A ZIPLINE: I can’t say this enough. The best loot (Parking Garage, Church Tower) and secret stashes (Hospital Roof) require a Zipline. It’s a non-negotiable utility item for me.
- The 80/20 Rule: You need a CQC weapon (shotgun/SMG) for 80% of the fights inside buildings. You need a long-range weapon (DMR/Sniper) for the 20% of fights between buildings. That 20% will get you killed if you’re not prepared.
- The Loot Nerf is Real: Be aware that recent patches have hit high-end loot, especially Security Lockers and key rooms. This makes “brute force” looting (opening every drawer) in places like Space Travel and Plaza Rosa more valuable than just hunting for the “magic” loot containers.
- Watch the Roofs: This map is a “rat’s” paradise. Never stand still in the open. Always assume someone is watching you from a window or rooftop.
- Know Your Extracts: The Metro extracts are deathtraps. Always be listening, and use smoke grenades. The Plaza Rosa extract is a straight drop down, which is fast but also a notorious camp spot.
Conclusion
Buried City has completely changed the game. It’s a fast, brutal, and incredibly rewarding map that tests your CQC skills, map knowledge, and positioning. These 10 POIs are your ticket to a full stash and decked-out kits. This list of the best loot locations in ARC Raiders for this map will help you learn the routes, know your escape plans, and most importantly, check your corners.
What do you think of my list? Did I miss a sleeper spot that you’ve been farming? Let me know in the comments. I’m always looking for a new edge. For more deep-dive guides like this, be sure to check out our ARC Raiders category here at Rivalsector.com.
Now, if you’ll excuse me, I hear a breach on the 6th floor of Space Travel. I’ve got to go.