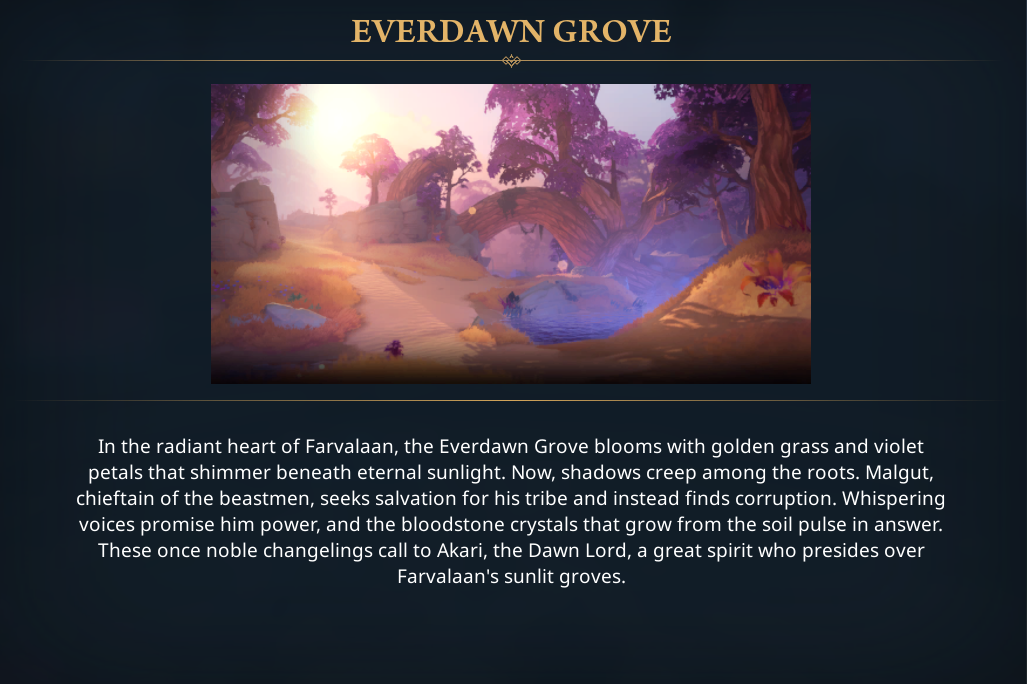
Hello everyone, Elias here, and I am absolutely hooked. The early access for Fellowship just dropped, and I have been grinding it non-stop for Rivalsector. This game is shaping up to be something special. I have been diving deep into all the content, but I know what is giving many groups trouble: the dungeons. Specifically, I have seen a lot of parties wipe in the Everdawn Grove. It is a dungeon that really tests your group’s coordination and awareness.
I have spent a good chunk of my time mapping this place out, learning the trash pulls, and mastering the boss. It can be a real pug-killer if you go in blind. But that is why I am here. I am going to give you my complete breakdown of the Everdawn Grove. We will cover every important trash mob, my recommended high-efficiency route, and a step-by-step strategy to take down the final boss, Malgut the Fetted. By the time you finish this guide, you will be clearing this dungeon with your eyes closed. Let’s get into it.
Know Your Enemy: Key Trash Mobs
Like any tough dungeon, the trash in Everdawn Grove is not just filler. It is a series of mini-challenges. Many of these mobs have abilities that become much deadlier when a “Legacy” (the dungeon’s affix-like system) is active. The video I’ve been studying makes it clear this is based on pre-early access, but the mechanics are solid.
You will face “Legacy” effects like Bear’s Legacy and Veayer’s Legacy. These add on-death effects or new abilities to specific mobs, so you always need to know what is active.
Here is my must-know list of the most dangerous non-boss enemies:
- Blighted Dawnbloom: These are your top priority for crowd control (CC). Their main cast, blighted, is a frontal cone aimed at a random player that applies a nasty magic dot (damage-over-time). The target should stand still so others can dodge it, and the healer needs to dispel it fast. With Bear’s Legacy active, they get an on-death effect called glory, which drops a healing puddle for all mobs. Tanks, you must pull mobs out of this immediately.
- Skitter Shards: These little guys seem harmless until Veayer’s Legacy is active. When they die, they apply crystalline corruption to the entire group. This is a stacking magic dot that also reduces healing. It gets very scary, very fast. The good news? You have counterplay. Any time a player receives a heal, one stack is removed. Healers need to be ready for big area-of-effect (AoE) healing moments when these mobs get low.
- Desecrators: A ranged mob you need to watch. They channel volley, which creates damage circles under random players. Just move out of the fire. You can and should interrupt this channel if you have a spare CC. With Veayer’s Legacy, they also gain infernal explosive. This creates a soak circle that one player must step into to prevent moderate group-wide damage.
- Horned Sears: These are a key interrupt target. They have a basic pain bolt tank hit. Their more interesting cast is Orb of Blood on a random player. This does moderate damage but also buffs the player’s damage done by 20 percent. If your group is not in danger, I recommend letting this cast go off for the free buff. However, when Veayer’s Legacy is active, they gain Sanguin Offering. This ability is not worth the buff. It shoots out multiple orbs and the damage is way too bursty. You must interrupt or CC this cast every single time.
- Corrupted Totemics: Another high-priority caster. They cast shadow lob at random targets, so use any spare interrupts on this.1 Their main threat is summoning a Blood Stone Totem. This totem will pulse group-wide damage until it is destroyed. Your entire group must swap to this totem and burn it down immediately.
The “Big Guys”: Handling Mini-Bosses
Aside from the standard trash, you will find two CC-immune mini-bosses patrolling the paths. These are the real group-checkers, and you must handle them correctly, especially when a Legacy is active.
Bloodstone Goliath:
This is, in my opinion, the most dangerous non-boss mob in the instance. Initially, it is simple. It casts bloodstone eruption, which creates rings of explosions that detonate from the outside-in. Find a safe spot close to the mob and wait it out.
The real test comes when Veayer’s Legacy is active. The Goliath gains stacks of searing absorption every time it takes damage. It then consumes these stacks to cast discharge, dealing massive group-wide damage that scales with the stacks. If this Goliath casts discharge with 10 or more stacks, you better have group-wide defensive cooldowns ready, or you will wipe.
Gore Stained Butcher:
This mob is a bit more straightforward. Its main ability is Furious Tantrum, a channel that does group-wide damage over a few seconds. It is much easier to heal through than the Goliath’s burst. When Veayer’s Legacy is active, it gains mince. This is a heavy-hitting channel focused only on the tank. Tanks, you must have a defensive cooldown ready for this.
My Recommended Route and Strategy
When you start, you will clear a few initial pulls. The path will then fork, and you can go left or right.
In my experience, the left path is significantly easier to manage. The pack compositions are more forgiving. As you move left, you will encounter the mobs I listed above, like the Outrunners and Horned Sears.
Here is the key pro-tip: about halfway down the left path, you will encounter a patrolling Bloodstone Goliath. Do not fight this mob if you can avoid it, especially if Veayer’s Legacy is active. It is not worth the risk or the time. I recommend you wait for it to patrol away and then run safely past it.
You will eventually be forced to fight a single Bloodstone Goliath just before the final boss room. There is no skipping this one. Make sure your group has all major cooldowns (both defensive and offensive) ready for this pull. This is the final gateway before the boss, so treat it with respect.
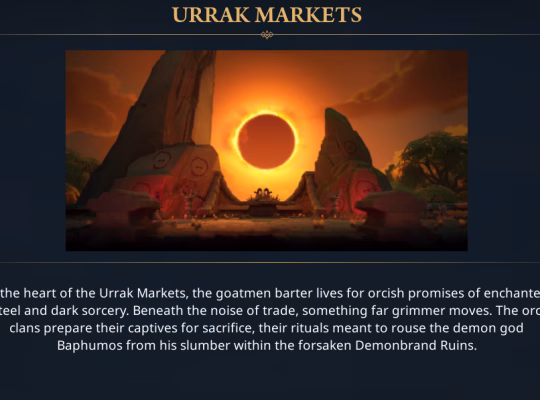
Final Boss Guide: Malgut the Fetted
This is it. Malgut the Fetted. This fight looks chaotic, but it is a simple dance once you learn the steps. The entire encounter revolves around a friendly stag in the room, Akari the Everdawn Lord.
Your number one priority, above all else, is to keep Akari alive. He helps you, and you need him for two key mechanics.
Here is a full breakdown of the boss’s abilities.
The Main Gimmick: Akari’s Charge
Periodically, Akari will aim a charge line at a random player.2 After a short delay, the line becomes solid, and he dashes forward, stunning and damaging anything in his path. The targeted player’s job is to aim this line so it passes through the boss, Malgut. Then, that player must step out of the line before the charge goes off. This stuns the boss, increasing your damage.
Key Mechanics for Everyone
- Crystal Volley: The boss shoots a cone of damage at all four players simultaneously.3 You must spread out to avoid cleaving each other. You must also make sure none of your cones hit Akari. This is the primary way Akari takes damage. If you hit him, your healer can heal him, but it is much, much better to just avoid it.
- Bloodstone Totems: Malgut summons two totems, just like the trash mobs. These spam group-wide damage. This is where Akari shines. Your group should immediately focus all DPS on one of the totems. When Akari targets a player with charge, that player must aim the charge at the second, full-health totem. Akari’s charge will instantly destroy it. This strategy lets you handle both totems with extreme speed.
- Corruption Shot: The boss puts a debuff on a random player.4 When it expires or is dispelled, it explodes, and the damage is split among all players inside its radius. The entire group must stack on the debuffed player, and the healer should then dispel it. Be careful, as this can overlap with Crystal Volley. If it does, dodge the volley first, then group up.
For the Tank
- Umbreal Eruption: This is the main tank mechanic. The boss pulses heavy AoE damage to anyone not standing in a very small safe zone located directly behind him. As the tank, you must use a defensive cooldown, find this tiny safe spot, and then point the safe spot at Akari. Akari patrols, so you may need to move the boss with him to keep the stag safe. The rest of your group must also stack in this safe spot with you.
The Wipe Mechanic
- God Rot: The boss will begin to channel a lethal, room-filling cast. This will wipe your group if it finishes. There is only one way to stop it: you must use Akari’s charge to stun the boss. This is the biggest reason why keeping Akari alive is mandatory for this fight.
To make it easier, I have put all the boss info into a quick cheat-sheet.
| Mechanic | Type | How to Handle |
| Akari’s Charge | Friendly Gimmick | Aim the line at the boss or a Bloodstone Totem. Dodge it yourself. |
| Crystal Volley | Group Damage | Spread out. Do NOT hit other players or Akari with your cone. |
| Bloodstone Totems | Adds / Group Damage | Burn one totem down. Use Akari’s Charge to one-shot the other. |
| Corruption Shot | Group Soak | Stack on the debuffed player. Healer dispels. Dodge other mechanics first. |
| Umbreal Eruption | Tank / Group Damage | Stack in the tiny safe zone behind the boss. Tank must protect Akari. |
| God Rot | Wipe Mechanic | Must be interrupted by stunning the boss with Akari’s Charge. |
Conclusion: You Got This
The Everdawn Grove is a fantastic dungeon that really rewards clean play. It is not a DPS race. It is a mechanics and coordination check. The trash mobs test your interrupt discipline, and the final boss is a pure “do the dance” encounter. It all comes down to add priority, positioning, and protecting your friendly stag.
I know this is a lot of information, but after a few runs, it will all become second nature. Follow these steps, communicate with your team, and you will be farming this instance for loot in no time.
This Fellowship early access is proving to be a blast, and I am excited to see how the game evolves.By the way, I have my full Fellowship Review, which you can check out. What have you thought of the dungeons so far? Do you have a different strategy for Malgut that works for your group? Let me know in the comments below.
For more deep-dive guides and reviews on all the hottest new games, be sure to keep it locked right here on Rivalsector and check out our Gaming Insights category for all my latest articles. Now get in there and get that clear! Elias out.