Using the same crosshair for Black Widow and the Hulk is like using a screwdriver to hammer a nail—it might work, but it’s far from optimal. In Marvel Rivals, every hero is unique, with different weapons, abilities, and playstyles. To unlock your true potential, your crosshair should be just as unique.
Welcome to the ultimate guide to hero-specific crosshairs on Rivals Sector. This page is dedicated to providing meticulously crafted crosshairs tailored to the specific kits of individual heroes. We’ve analyzed weapon types, ability aiming requirements, and optimal engagement ranges to design setups that feel like a natural extension of your character.
Why Do Different Heroes Need Different Crosshairs?
A “one-size-fits-all” approach simply doesn’t cut it at a high level. Here’s why tailoring your crosshair to your hero is a game-changer:
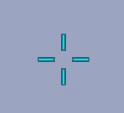
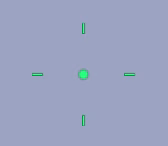
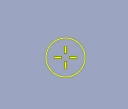
- Weapon Type: A precision pistol for headshots requires a small dot, while a shotgun benefits from a wider circle that visualizes its spread.
- Ability Aiming: Some abilities, like Iron Man’s Repulsor Beams, require sustained tracking, while others might be projectiles that need a different kind of visual aid.
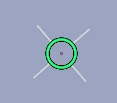
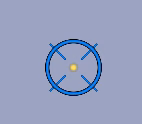
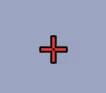
- Optimal Engagement Range: A brawler like the Hulk needs a crosshair that is visible and bold amidst close-quarters chaos, whereas a long-range hero needs something clean and unobtrusive.
- Focus & Clarity: The right crosshair helps you mentally switch gears when you switch heroes, reinforcing the specific aiming style that hero requires.
Optimized Hero Crosshair Setups (Updated Oct 2025)
Below are our top recommendations for some of the game’s most popular heroes. We are constantly updating this list as the meta evolves!


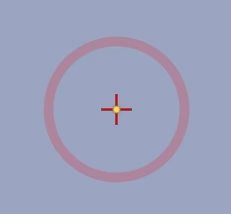
Adam Warlock
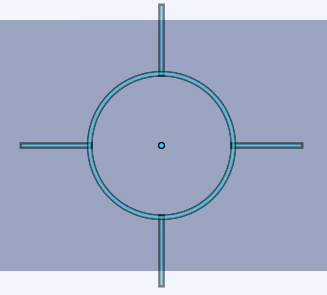
Angela

Black Panther

Black Widow

Blade

Captain America
Cloak and Dagger
Doctor Strange
Emma Frost


Groot

Hawkeye


Hela


Hulk

Human Torch

Invisible Woman

Jeff the Land Shark
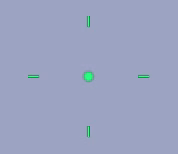
Loki


Luna Snow
Magik
Magneto
Mantis

Mister Fantastic


Moon Knight
Namor
Peni Parker
Phoenix
Psylocke

Rocket Raccoon
Scarlet Witch
Spider-Man

Squirell Girl

Star Lord
Storm

The Punisher
The Thing

Thor

Ultron
Venom


Winter Soldier


Wolverine
How to Set Up Your New Crosshair
Getting your new crosshair from our site into Marvel Rivals is simple, but the process is different depending on your platform. Follow the guide below for either PC or Console.
For PC Players (Import Code)
PC players can use the convenient import code to apply a crosshair in seconds.
- Copy the Crosshair Code: Use the “Copy” button next to your chosen crosshair on our site.
- Launch Marvel Rivals: Open the game and go to the main menu.
- Navigate to the Crosshair Menu: Go to Settings > Keyboard > Combat > HUD. This is where you’ll find the crosshair customization options.
- Click the “Import” Button: Look for an option called “Import,” “Import Profile,” or a similar icon.
- Paste and Confirm: Paste the code you copied from our site into the text box that appears and hit ‘Apply’ or ‘Confirm’.
That’s it! Your new crosshair will now be active in-game.
For Console Players (Manual Setup)
Console players need to enter the values for each setting by hand. This requires careful input, so take your time to match each value exactly.
- View Manual Settings: On any crosshair card, click the Console (Manual) tab to see a detailed list of all the values (Width, Opacity, Color, etc.).
- Launch Marvel Rivals: Open the game and go to the main menu.
- Navigate to the Crosshair Menu: Go to Settings > Controller > Combat > HUD.
- Enter Each Value: Go through the settings in the game one by one, adjusting each slider and option to match the values shown on our website.
- Save Your Changes: Once all values have been entered correctly, apply or save the new crosshair profile.
You’re now ready to play with a professionally tuned crosshair on your console!
Explore Other Crosshair Collections
Tailoring your crosshair to your hero is key for competitive play, but we’ve got options for every mood and style.
➡️ [See what the pros are using in our Streamer Crosshairs collection]
➡️ [Want a laugh? Check out our list of Funny Crosshairs]
➡️ [Browse all types in The Ultimate Guide to Marvel Rivals Crosshairs]